
From Vision to Reality: Our 11-Step Wine Cellar Process
Building a wine cellar is a journey with clear milestones. We've refined our process over 20 years to be transparent, efficient, and focused on quality at every stage. This isn't an ad-hoc approach—it's a proven system that removes uncertainty and delivers predictable results. Here's exactly what happens from your first conversation to the moment you open your cellar's doors.
Our Process: 11 Stages
STAGE 01
STAGE 02
STAGE 03
STAGE 04
STAGE 05
STAGE 06
STAGE 07
STAGE 08
STAGE 09
STAGE 10
STAGE 01
Initial Consultation — Understanding Your Vision
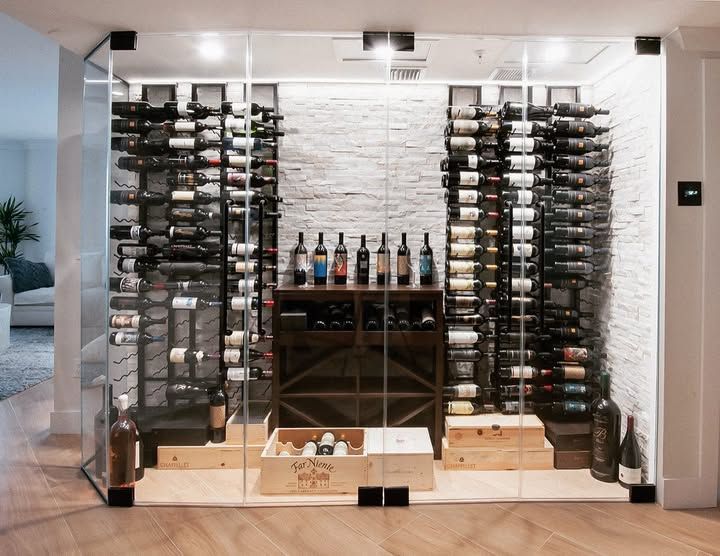
What happens
You speak with a Cachet consultant about your project, your collection, your space, and your expectations.
Why it matters
We can't design what we don't understand. This 30–60-minute conversation clarifies your collection size, your aesthetic preference, your budget range, your timeline expectations, and any special requirements (cigar integration, smart home connectivity, commercial vs residential use). We ask about your current wine storage situation, if you've built a cellar before, and what success looks like to you.
What you'll know by the end
You'll have a clear sense of whether your project is feasible, what the general timeline might be, and what the next steps are. You'll have asked questions and gotten honest answers. You'll know if Cachet is the right fit for your project.
Real project example
A Manhattan Beach homeowner calls, saying they have a basement they're not using and want a wine cellar. They have 400 bottles, prefer contemporary design, and want this completed by fall. In the consultation, we learned they also want smart home integration and ambient lighting. This context shapes every recommendation.
STAGE 02
Site Assessment — Measuring & Evaluating
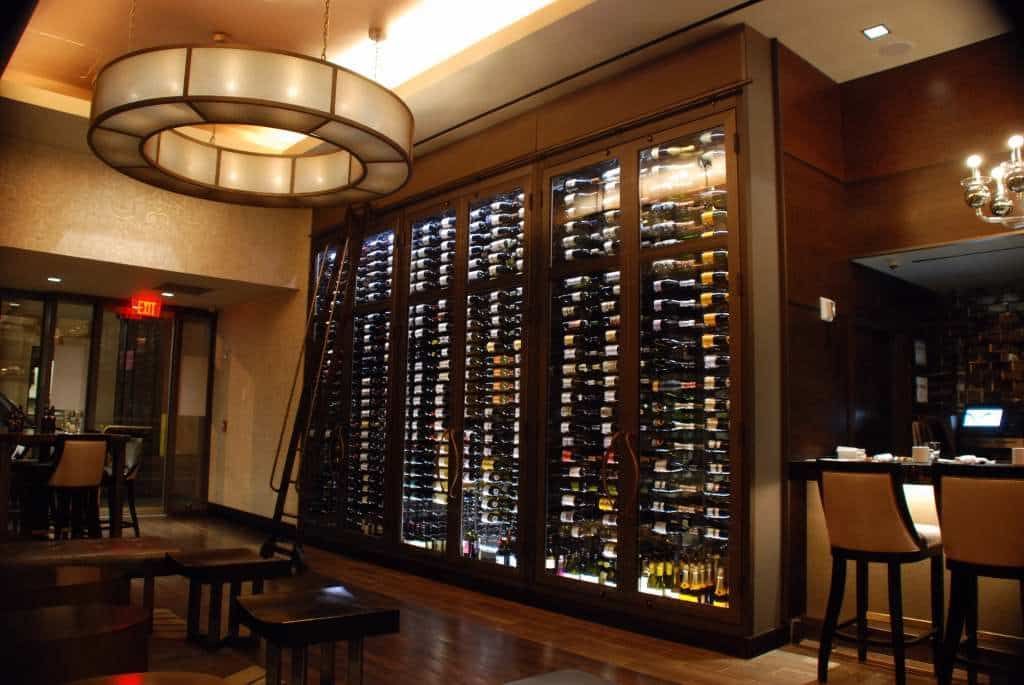
What happens
We visit your space (or you visit our Santa Ana facility for commercial projects) to physically assess conditions, take measurements, document existing structures, and identify any challenges.
Why it matters
Measurements from Google Maps aren't enough. We need to see ceiling heights, existing electrical and HVAC, insulation quality, moisture conditions, structural elements, and how light enters the space. We photograph the space from multiple angles, check the electrical capacity, identify walls that might be load-bearing, and assess whether the space has any existing moisture or humidity issues. For commercial projects, we discuss traffic patterns and access requirements.
What you'll know by the end
We'll have complete documentation of your space. We'll have identified any and all challenges (electrical upgrades needed, structural modifications required, moisture remediation, etc.). We'll discuss these findings with you and how they affect the timeline and budget.
Real project example
An Anaheim Hills homeowner wanted a closet conversion. During site assessment, we discovered an inadequate electrical system for proper cooling installation, higher-than-ideal humidity in the space, and existing moisture damage to one wall. We discussed remediation before the build, affecting the timeline and budget. Better to know this upfront than discover it during construction.
STAGE 03
3D Design & Rendering — Visualizing Your Cellar
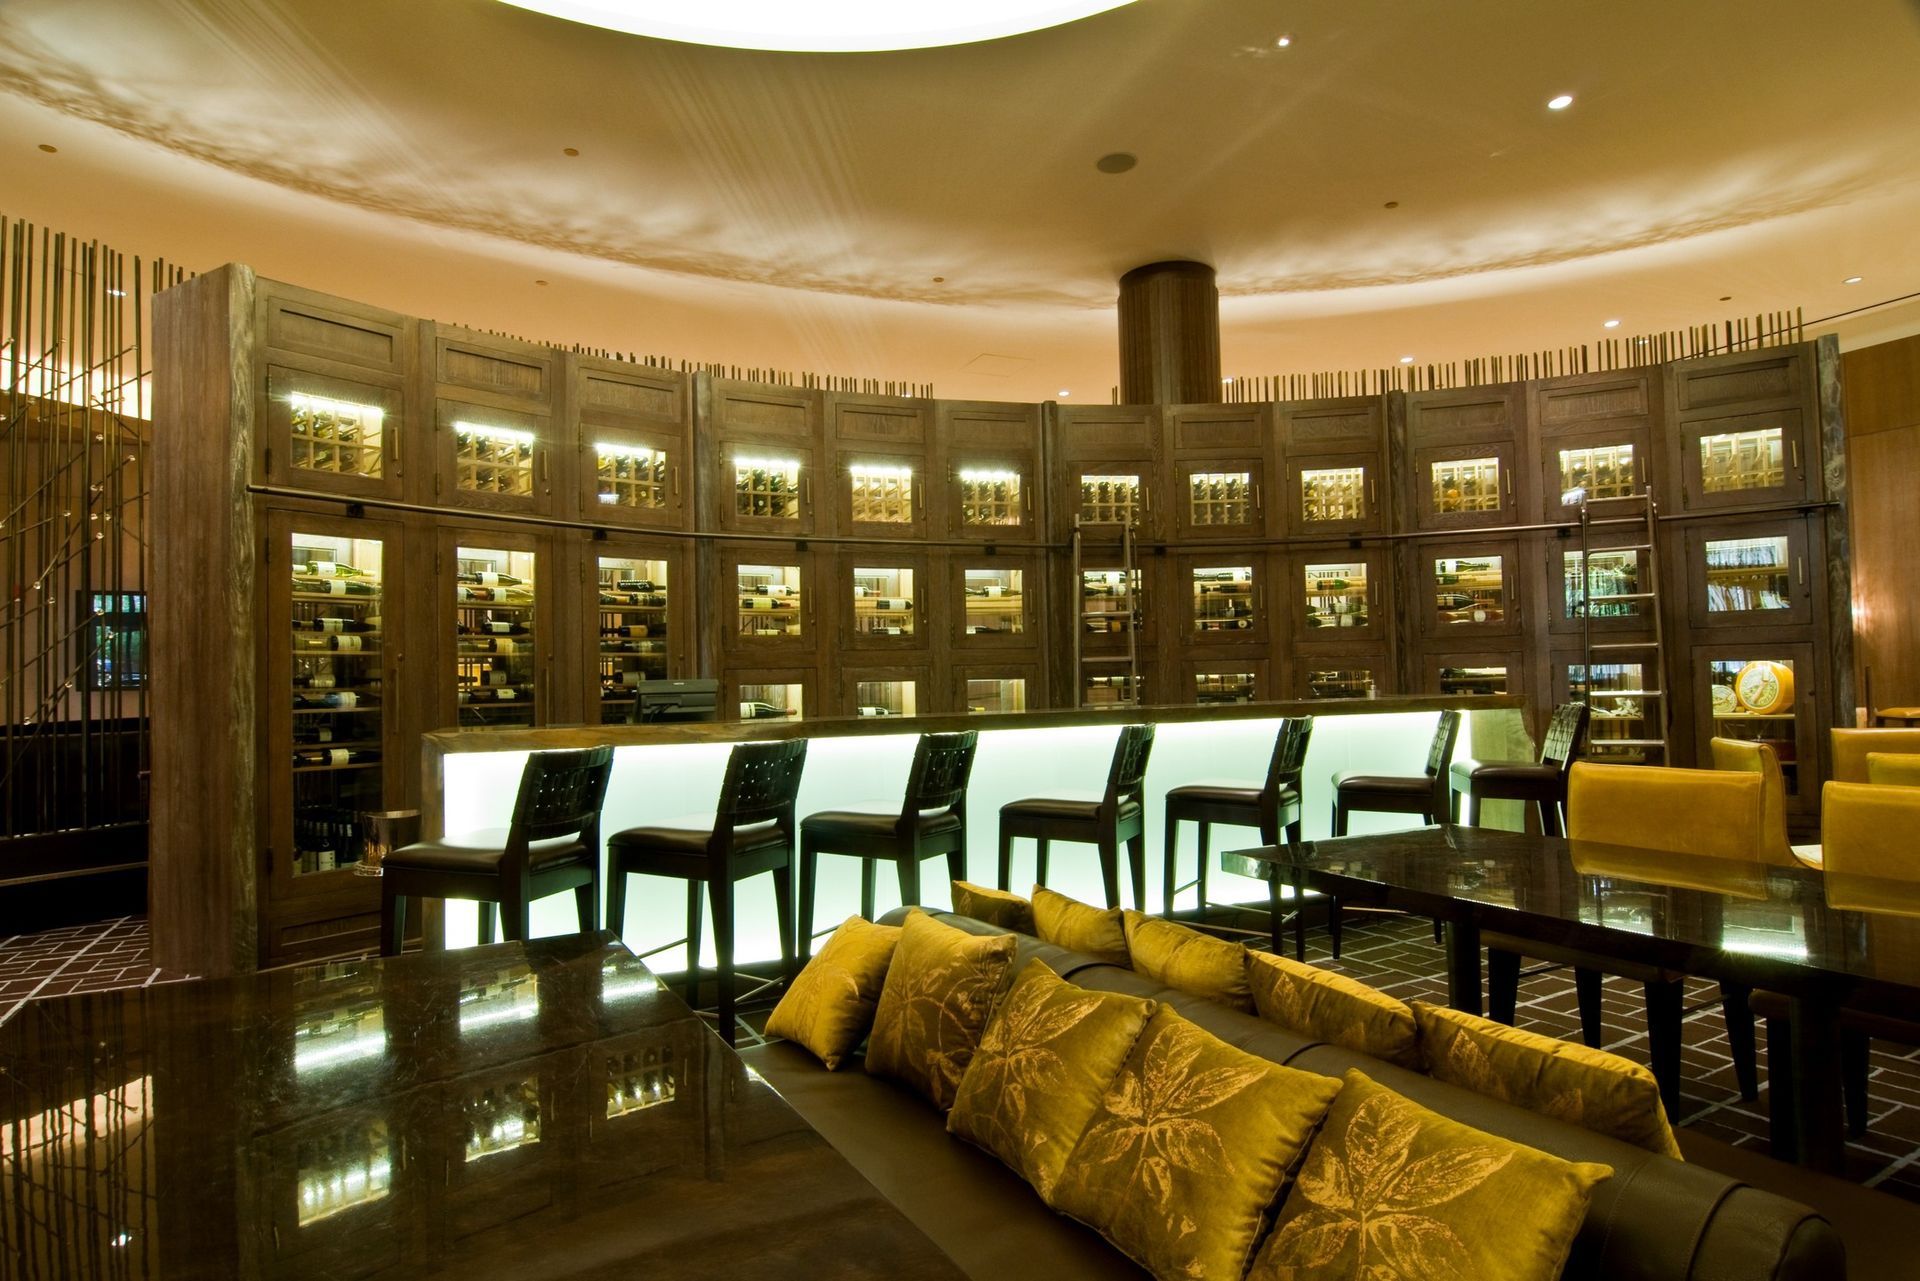
What happens
Our design team creates professional 3D renderings of your cellar from multiple angles, showing exact racking layout, lighting design, cooling system placement, door style, and finishing details.
Why it matters
A rendering lets you see what you're building before construction starts. You can approve the design, request adjustments, and make informed material choices. Most clients discover refinements at this stage ("Can we add more accent lighting?" "Let's try a different door style") rather than after building.
Timeline: Week 4-6 (usually 2-3 weeks of design work)
What you'll know by the end
You'll have multiple design options to choose from. You'll see your cellar from different angles. You'll understand the materials, layout, and equipment specifications. You'll be excited about what you're building.
Real project example
A Manhattan Beach client wanted a 2,000-bottle glass-wall cellar in an awkwardly shaped basement area. Our designer created renderings showing how to position glass walls, racking, and accent lighting to maximize both storage and visual impact. The client adjusted the lighting design during this phase, adding more dramatic accent lighting. The rendering sold them on the final design.
STAGE 04
Material Selection & Detailed Specifications
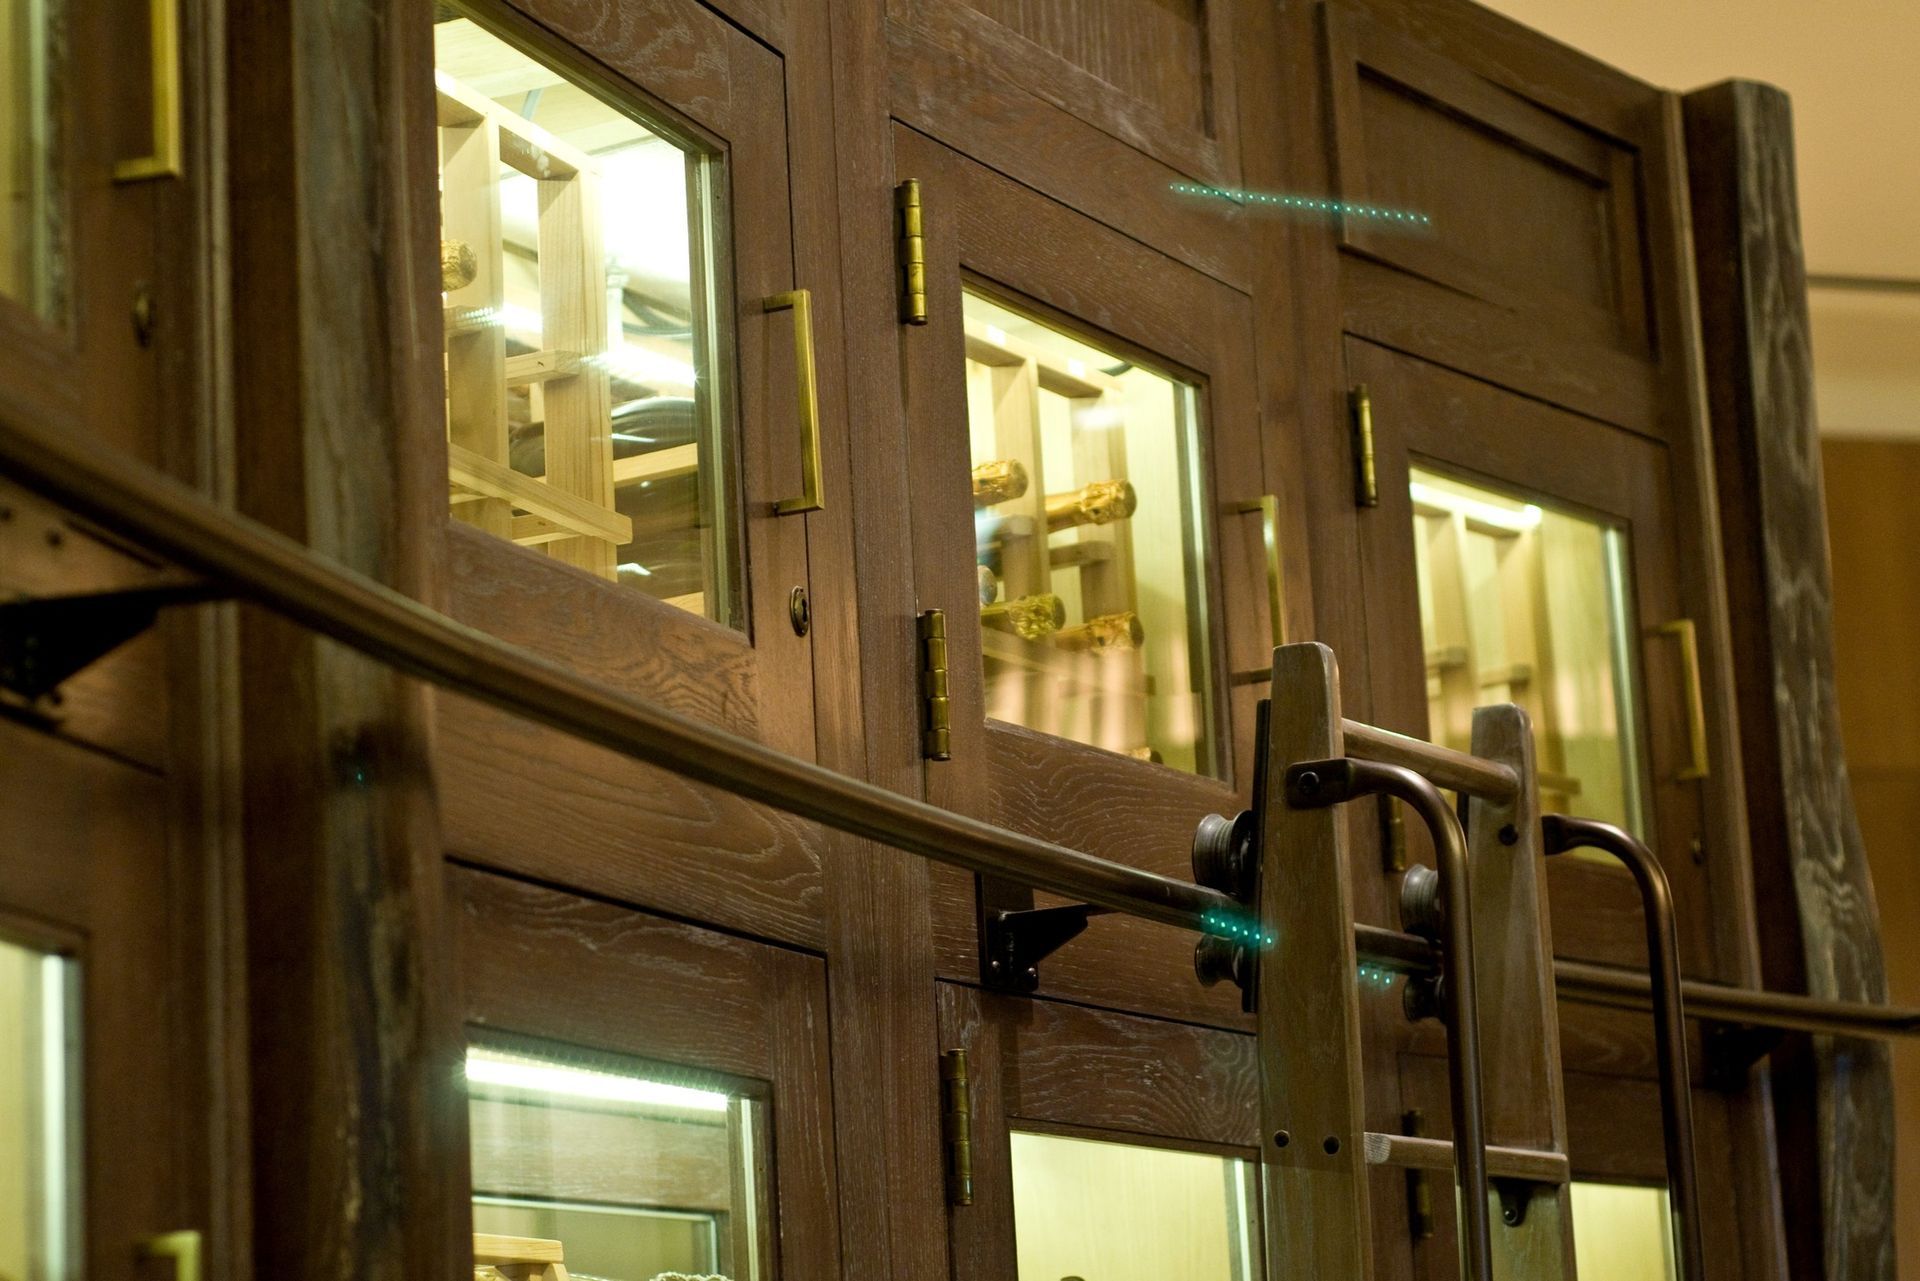
What happens
You review and approve specifications for every component: racking materials (wood species, finish), cooling system (brand, capacity, ducting), doors with UV protection, lighting (type, placement, controls), flooring options, and any other specialty features.
Why it matters
Material choices affect aesthetics, durability, cost, and maintenance. Spanish cedar is more expensive than pine but offers superior aromatics and durability. WhisperKOOL cooling systems are quieter but different from CellarPro units. We present options with pros/cons so you can make informed decisions. We also prepare lead-time information, as some materials ship immediately, while others take 6-8 weeks.
Timeline: Week 6-8
What you'll know by the end
You'll have a final materials list. You'll understand lead times and how they affect your construction start date. You'll have a detailed, itemized quote with zero surprises.
Real project example
A Dana Point residential client wanted a 486-bottle cellar with an integrated cigar humidor. During material selection, we discussed Spanish cedar (premium wood for humidor-friendly aromatics) vs. redwood (good but less ideal). The client chose Spanish cedar. We also specified humidity control to maintain 65-70% for both wine and cigars. Lead time on Spanish cedar was 6 weeks, affecting the construction schedule.
STAGE 05
Design Approval & Quote Finalization
What happens
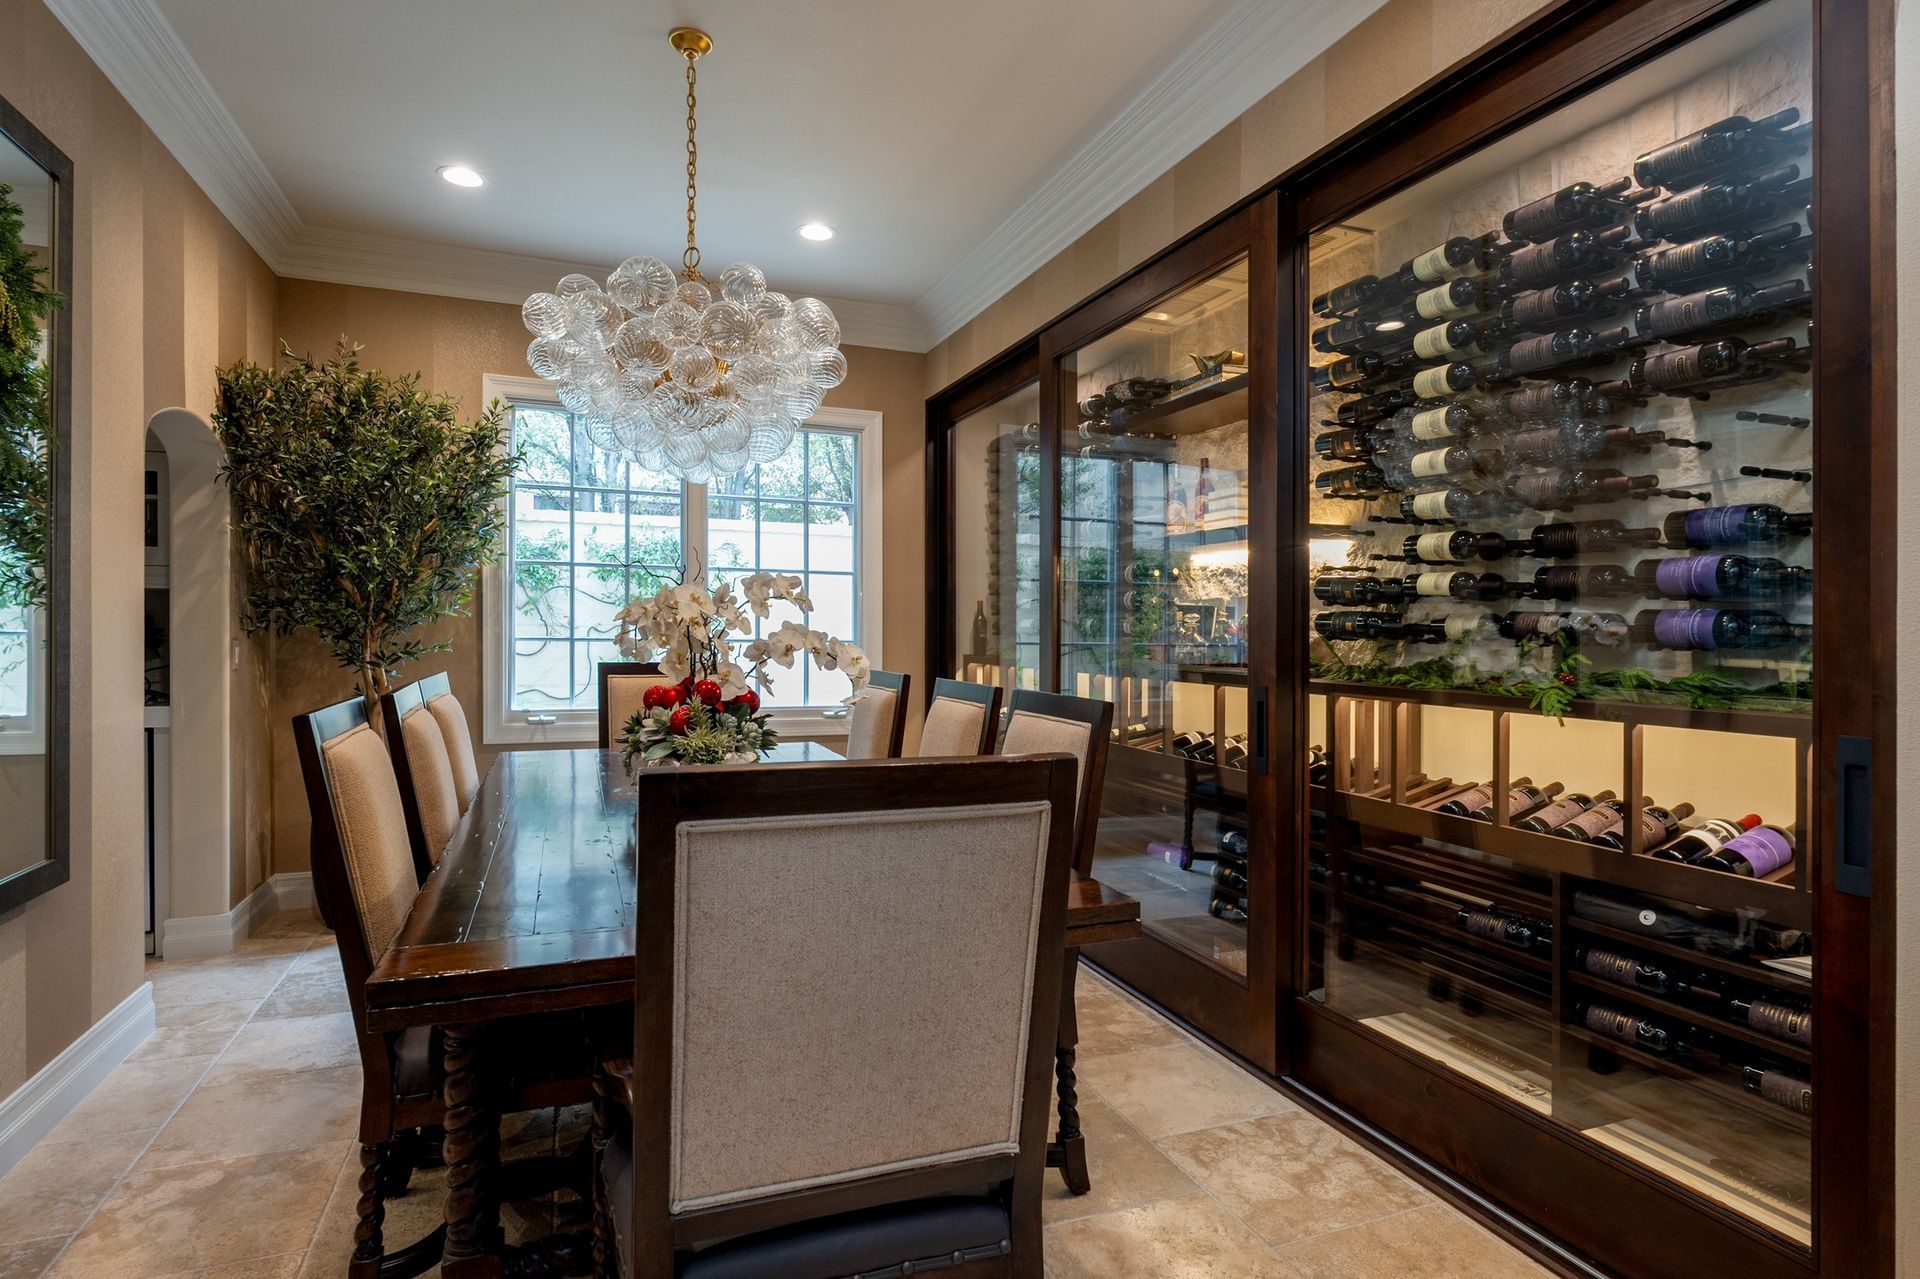
You review the complete quote, design renderings, material specifications, and timeline. You ask final questions. You approve, and we finalize the contract.
Why it matters
This is your opportunity to make sure everything is right before we begin. You have all the information: exact cost, exact timeline, and exact specifications. There are no surprises waiting.
Timeline: Week 8-10
What you'll know by the end
You're committed. You've approved the design. You know your start date. You know your completion target. You're mentally prepared.
Real project example
A Hell's Kitchen restaurant cellar (2,500 bottles, commercial-grade) required approval from the restaurant's executive chef and owner. We presented the design to both, addressed questions about accessibility and temperature precision, and finalized the quote. They approved and we scheduled construction around their busy dining season.
STAGE 06
Pre-Construction & Preparation
What happens
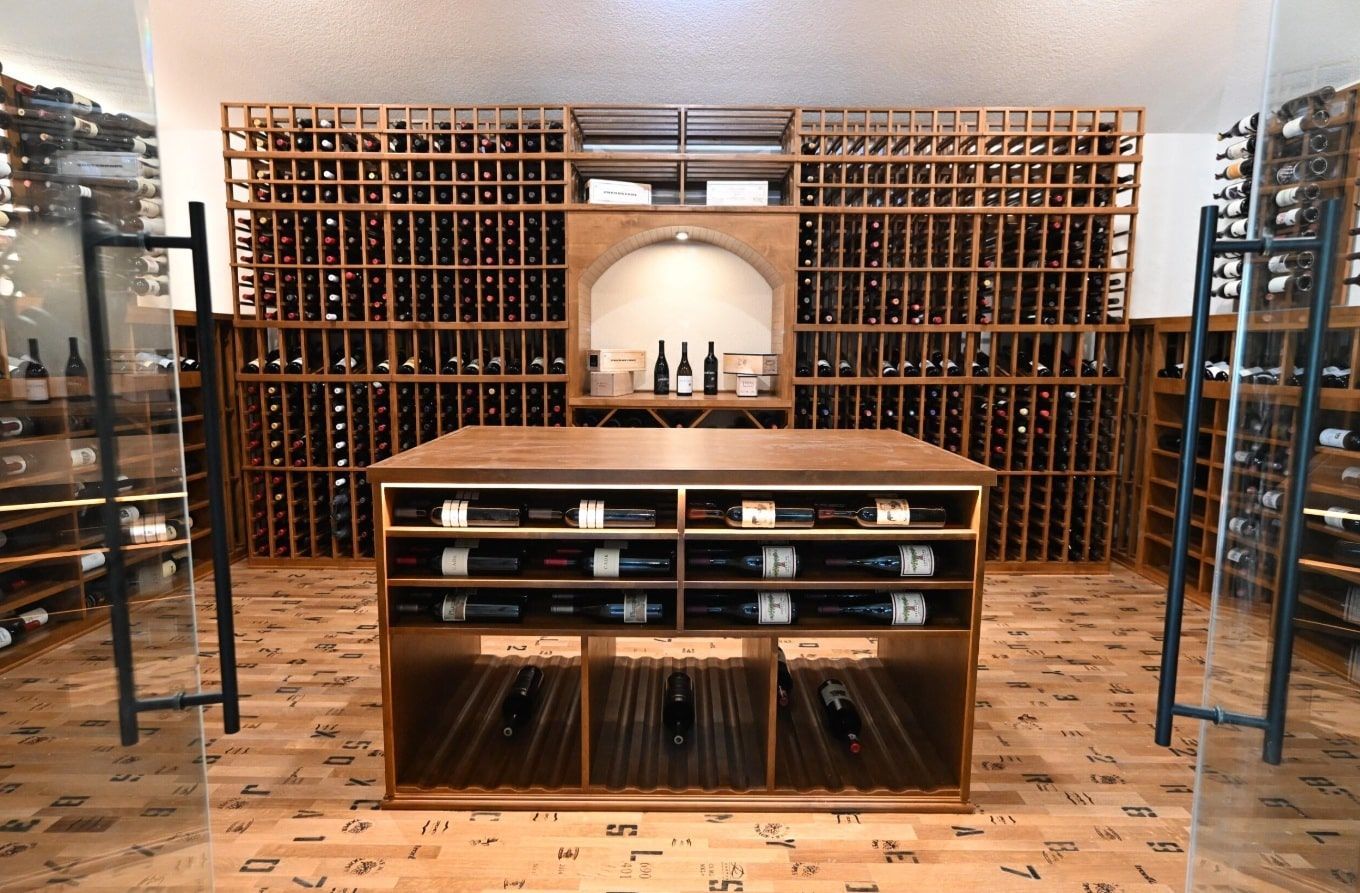
We prepare your space: protect existing finishes, set up construction staging, arrange material delivery, and confirm final details with you.
Why it matters
Proper prep prevents damage, keeps your project on schedule, and ensures safety.
Timeline: Week 1-2 before construction starts
What you'll know by the end
Your space is ready. Materials have arrived (or are arriving on schedule). You know exactly when construction will begin and what to expect first.
Real project example
A Newport Beach conversion required protecting adjacent finished spaces, arranging dumpster access, coordinating electrical work, and scheduling material deliveries. Proper prep meant construction proceeded smoothly without delays.
STAGE 07
Construction & Build-Out — Creating the Structure
What happens
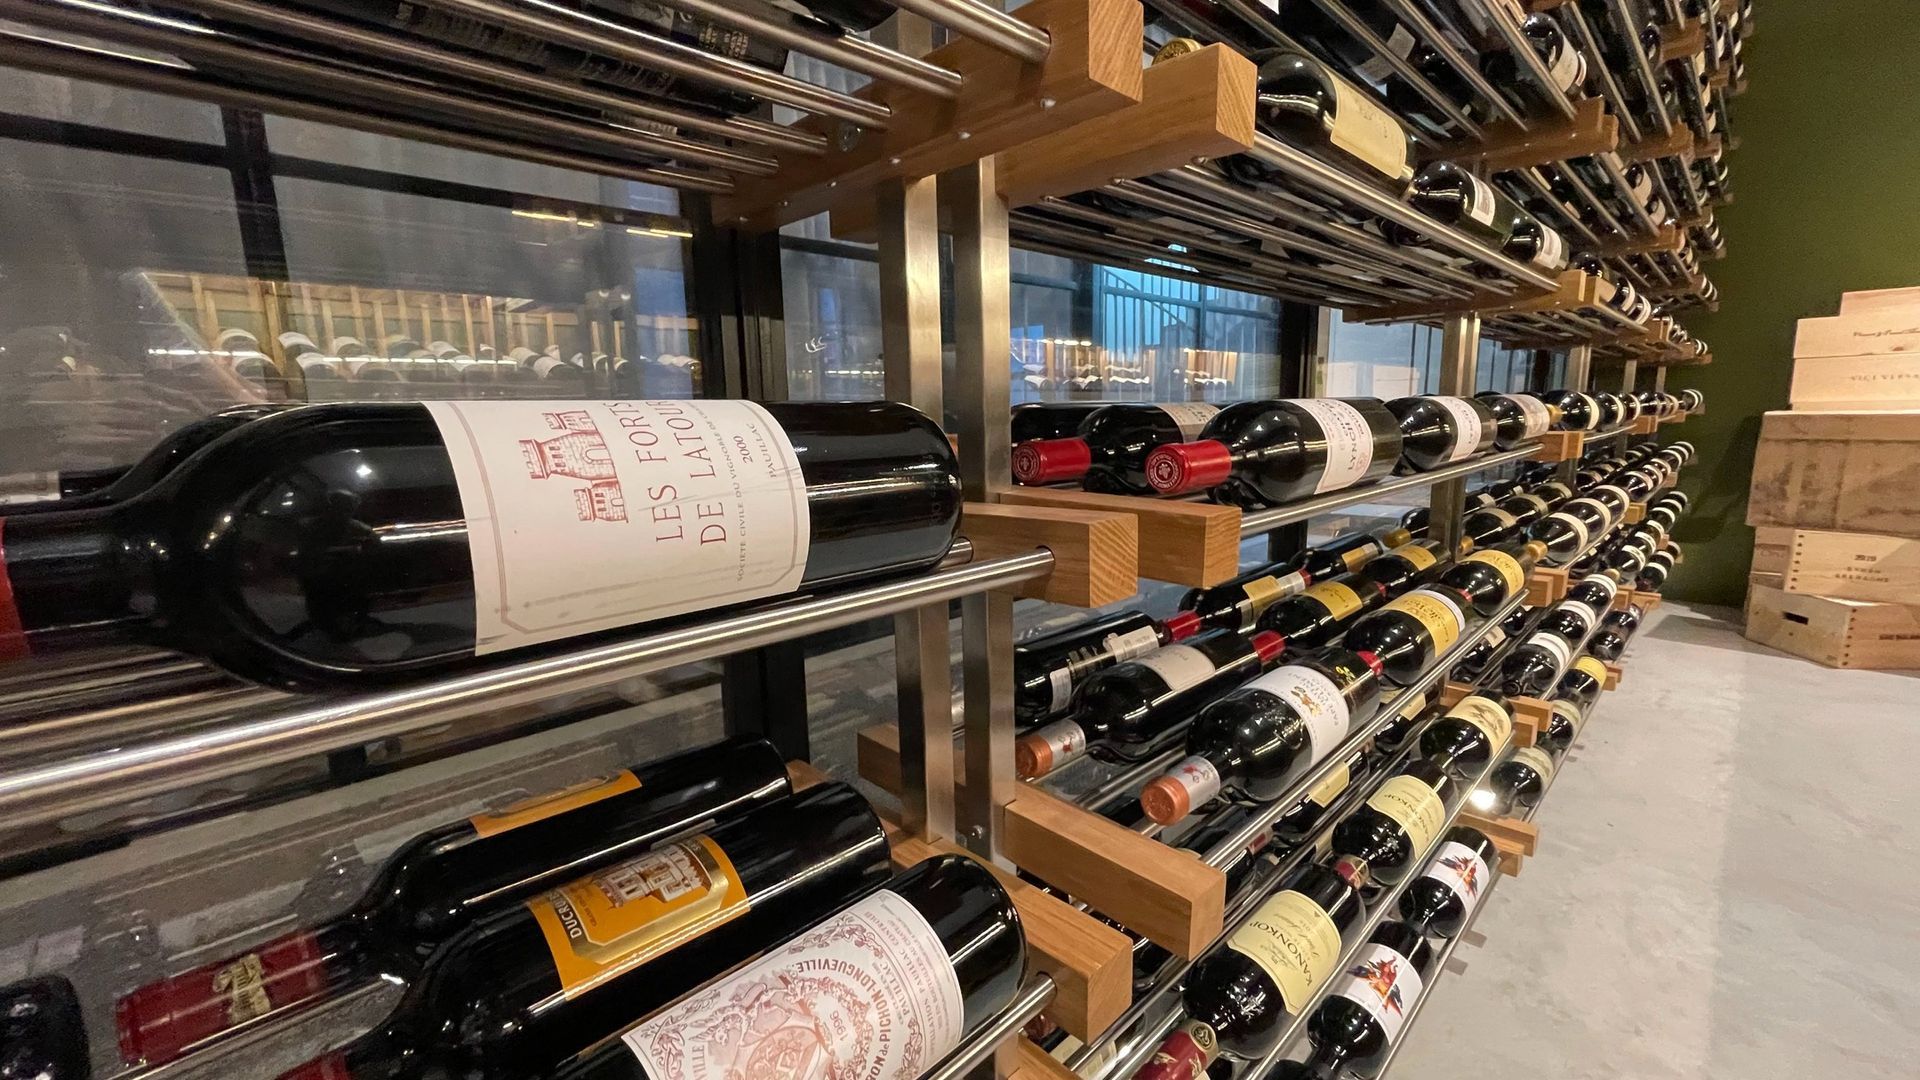
We build the foundation of your cellar: insulation, vapor barriers, structural modifications, electrical work, framing for racking, and HVAC ductwork.
Why it matters
This is where climate control is engineered. Proper insulation (R-19 minimum in walls, R-30+ in ceiling) prevents heat transfer, vapor barriers prevent moisture issues, and electrical upgrades power cooling systems. Everything is done according to specifications with regular quality checks.
Timeline:
4-8 weeks (varies by project scope)
What you'll know by the end
The structure is complete, HVAC ducting is installed, and Electrical is ready. The space is prepared for racking installation.
Real project example
An Irvine basement cellar required significant insulation work and electrical upgrades. We installed R-30 insulation in walls, added vapor barriers, upgraded electrical capacity, and tested all systems. Regular check-ins kept the client informed of progress.
STAGE 08
Racking Installation — Building Your Storage
What happens
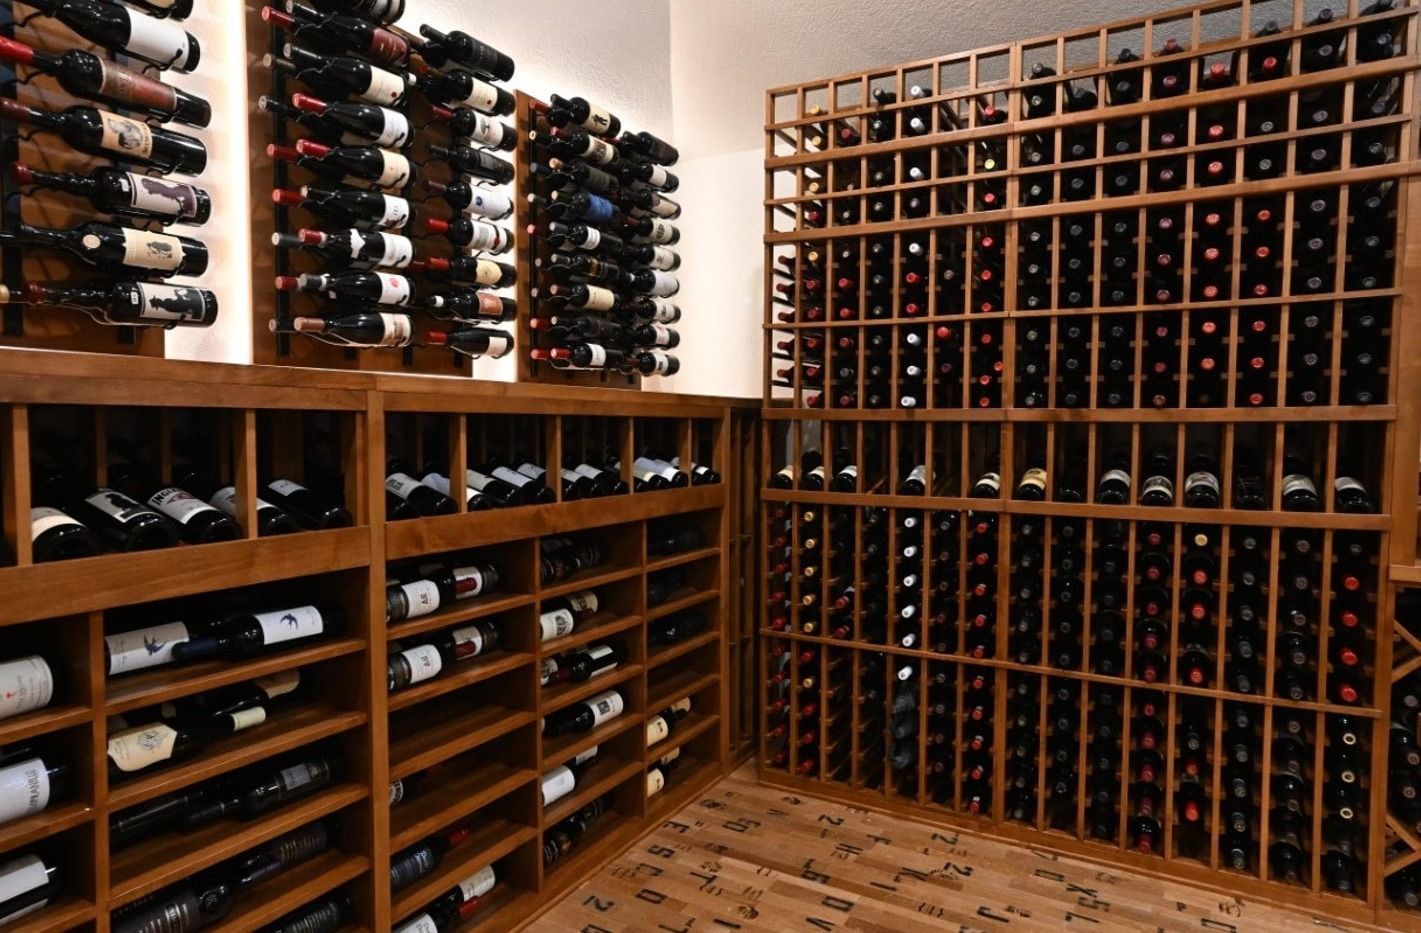
We install your custom racking: wood framing, shelves, and individual bottle holders engineered to your exact specifications and capacity.
Why it matters
Racking is the heart of your cellar. It must be precisely level, securely installed, and beautiful. We use premium hardware, quality wood, and expert craftsmanship.
Timeline: 2-3 weeks
What you'll know by the end
Your cellar is taking shape visually. You can see the storage layout and envision your bottles in place.
Real project example
A Mission Viejo custom build used knotty alder racking with a Barolo door. We installed racking in precise horizontal alignment, tested load capacity, and finished with stain and sealant. The client could see their cellar coming together.
STAGE 09
Initial Consultation — Understanding Your Vision
What happens
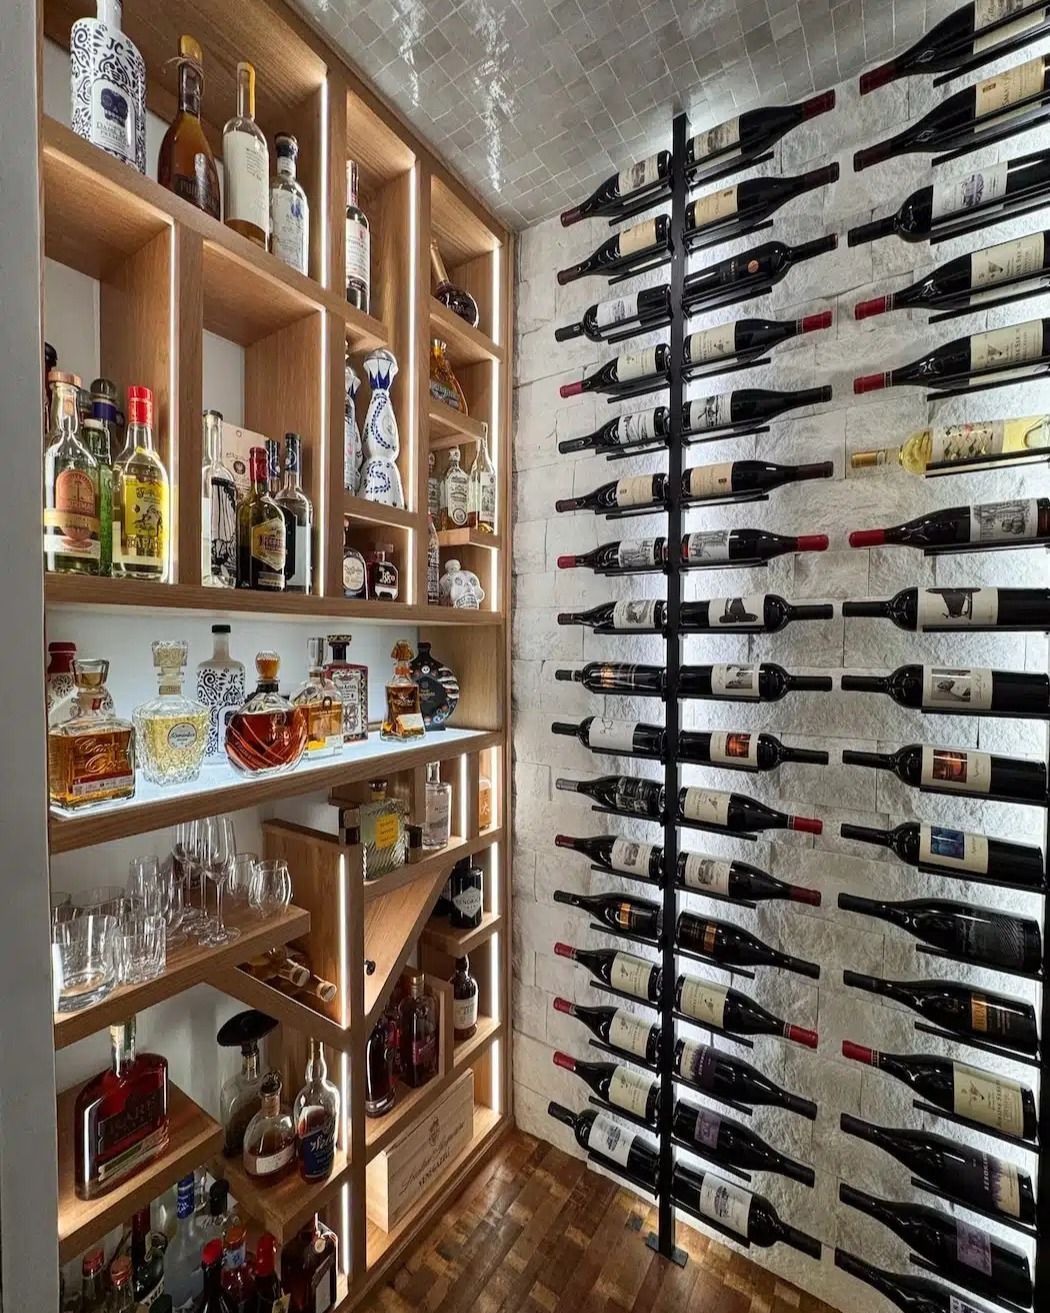
We install your cooling system (selected based on your space requirements), integrate ducting, connect humidity control, and commission the system to ensure it maintains perfect conditions.
Why it matters
A cooling system installed incorrectly is a liability. We ensure proper ducting, proper thermostat placement, proper humidity integration, and proper calibration. We test the system under load to verify it maintains.
Timeline: 2-3 weeks
What you'll know by the end
Your cellar is climate-controlled. Temperature and humidity are stable. The system is commissioned and ready for long-term operation.
Real project example
A commercial restaurant cellar required precision temperature control (exact for fine wines). We installed a Wine Guardian Pro Series system with smart home integration, tested it for over a week to verify stability, and trained staff on system operation.
STAGE 10
Doors, Lighting, Finishing & Final Details
What happens
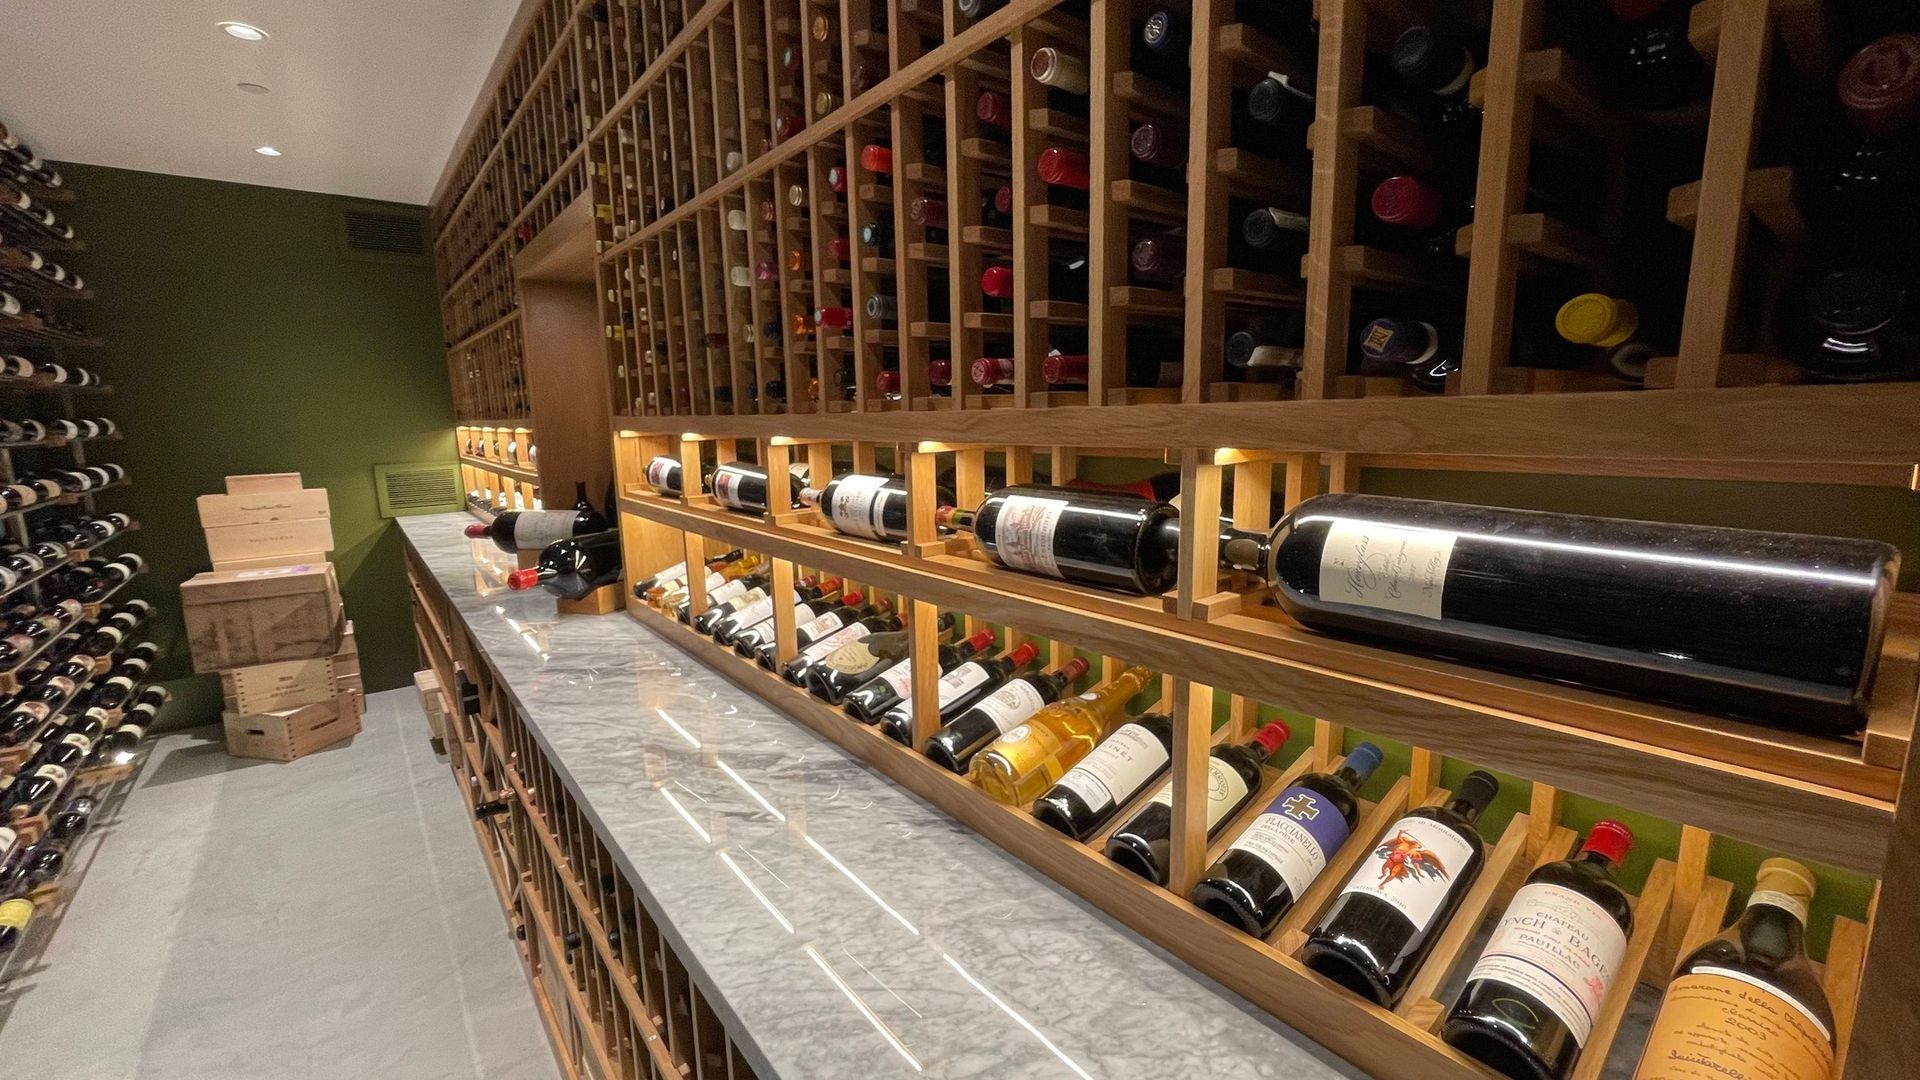
We install your cellar door (with UV protection if specified), lighting (accent, task, and control systems), flooring (if included), and any custom finishing touches.
Why it matters
These details transform a storage space into a room you'll love entering every day. Proper lighting showcases your bottles. UV-protective doors preserve your collection. Finishing details create ambiance.
Timeline: 2-3 weeks
What you'll know by the end
Your cellar is functionally and aesthetically complete. It's beautiful and fully operational.
Real project example
A Manhattan Beach glass-wall cellar required custom glass panels, LED accent lighting with remote control, and a polished concrete floor. When finished, the cellar became the home's showpiece—guests asked to see it immediately.
STAGE 11
Initial Consultation — Understanding Your Vision
What happens
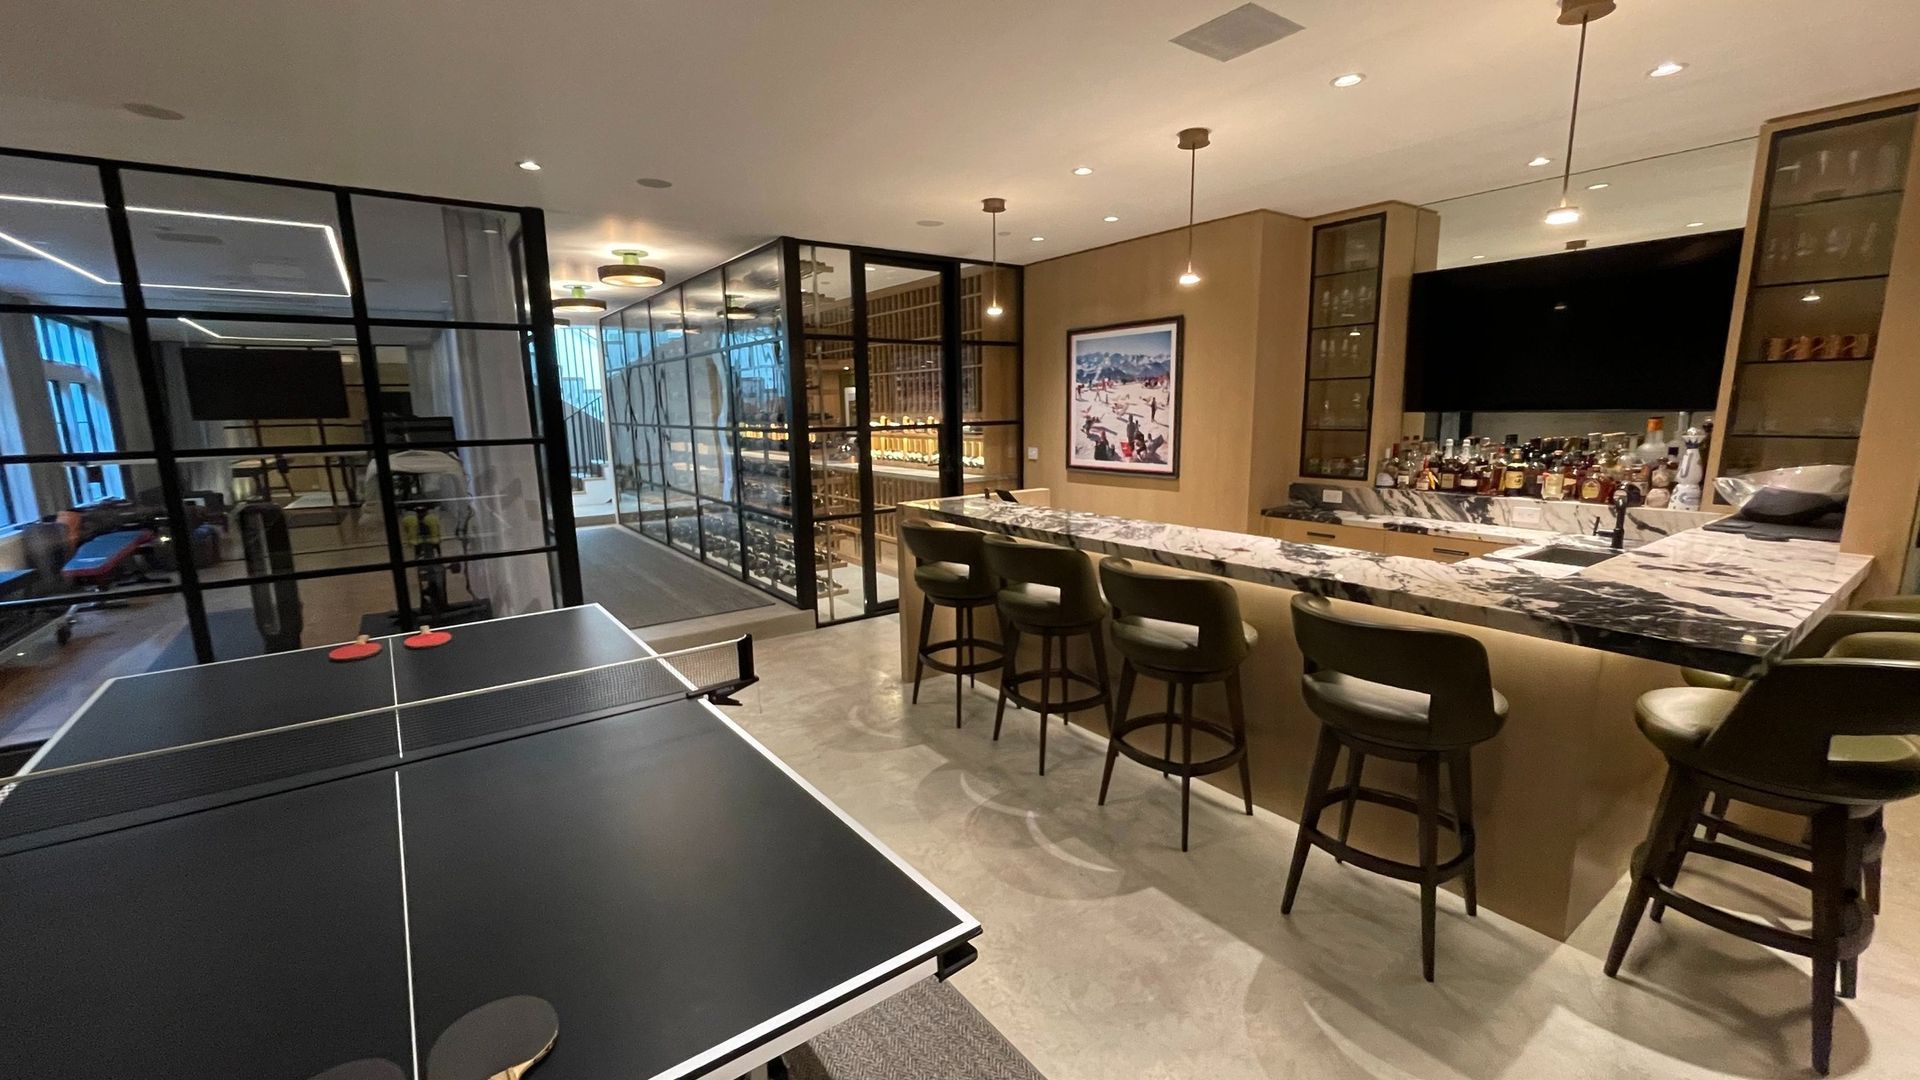
We conduct a complete quality inspection: temperature and humidity stability verified, all systems tested, and all components checked for finish and durability. You walk through your finished cellar, and we address any final adjustments. Then our professional photographer captures your cellar in stunning detail.
Why it matters
Quality inspection ensures everything works flawlessly. Your walkthrough is your moment to approve and celebrate what we've built. Professional photography documents your finished cellar for posterity—these images become part of your home's permanent record.
Timeline: Week 1-2 after construction completion
What you'll know by the end
Your cellar is perfect. Everything works. You have professional documentation. You're ready to fill it with wine.
Lifetime Warranty
Every Cachet cellar carries our lifetime warranty on materials and craftsmanship. If anything fails in the structure, racking, or installation, we repair or replace it. This warranty reflects our confidence in quality.
Real project example
A Laguna Hills cellar passed final inspection with flying colors. The client walked through, approved every detail, and we photographed the finished space from multiple angles. The photos captured the lighting, the racking, the door, and the overall ambiance. Six months later, the client still referenced those photos when showing friends.
Ongoing Support: 40-Day Check, 6-Month Service, 12-Month Maintenance
What happens after completion
We don't disappear after installation day. We schedule follow-up visits to ensure your cellar is performing perfectly.
40-Day Check
We visit to verify temperature and humidity stability, check cooling system performance, and answer any questions about operation and maintenance. Many minor adjustments happen here (thermostat fine-tuning, humidity sensor calibration).
6-Month Interim Service
We perform a more detailed check, testing all components, inspecting for any moisture or structural issues, and updating you on system performance.
12-Month Full Service
Complete system maintenance, professional cleaning, complete testing, and planning for long-term care.
Optional maintenance plans keep your cellar running flawlessly year after year. We're not just builders of your cellar—we're your partners in its success.
