
The Wine Cellar Planning Checklist
Building a wine cellar is a significant project. Getting the planning phase right prevents expensive mistakes later. This checklist walks you through every decision point, from space assessment to material selection to cooling system planning. Working through this systematically—ideally with your designer—ensures nothing gets overlooked.
Our Process: 7 Stages
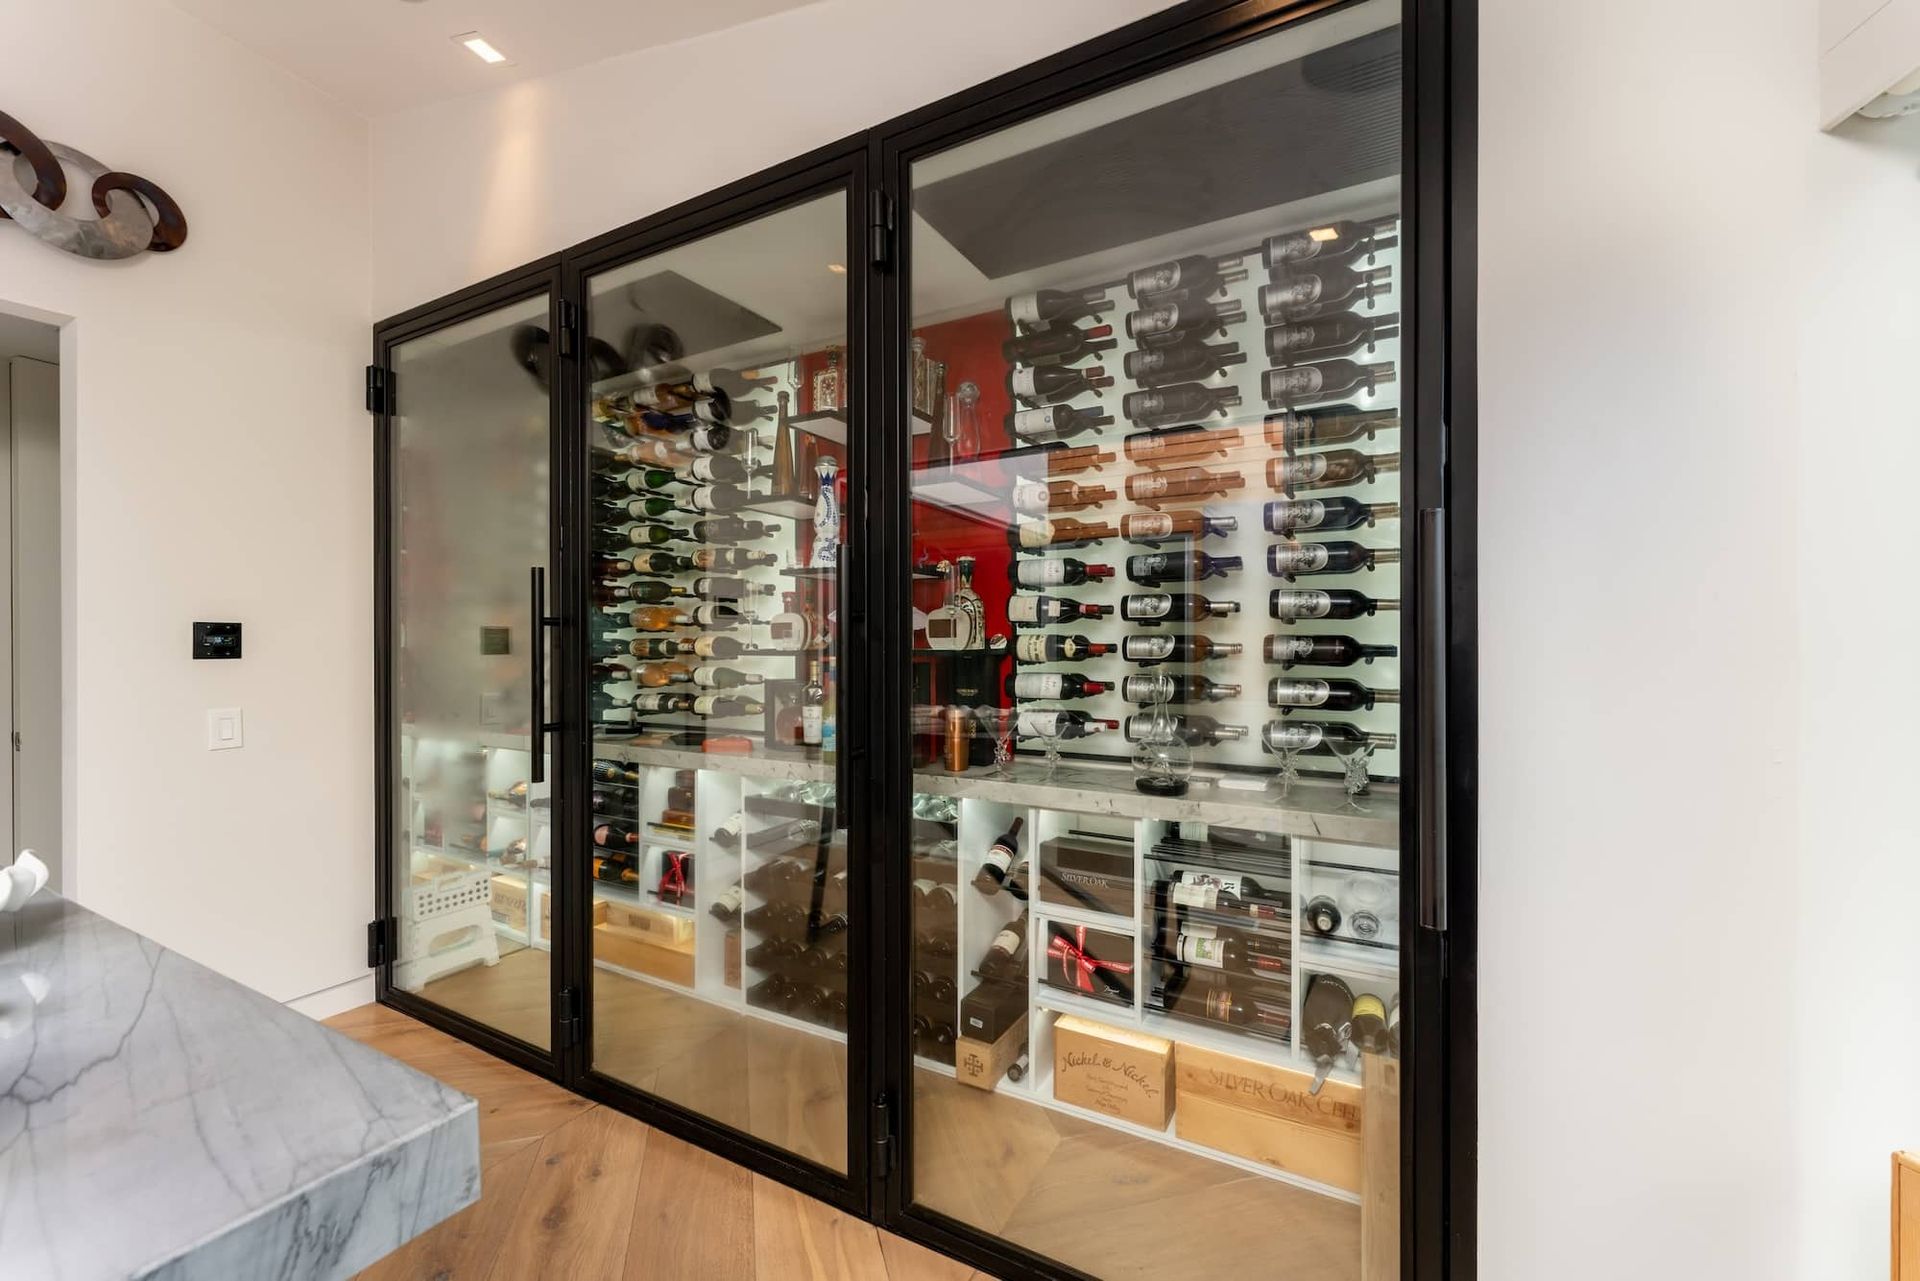
STAGE
01
Space Assessment & Feasibility
STAGE
02
Collection & Capacity Planning
STAGE
03
Climate & Cooling Planning
STAGE
04
Design & Aesthetics
STAGE
05
Technical Details
STAGE
06
Questions for Your Designer
STAGE
07
Common Planning Mistakes to Avoid
Phase 1
Space Assessment & Feasibility
This is paragraph text. Click it or hit the Manage Text button to change the font, color, size, format, and more. To set up site-wide paragraph and title styles, go to Site Theme.
Step 1
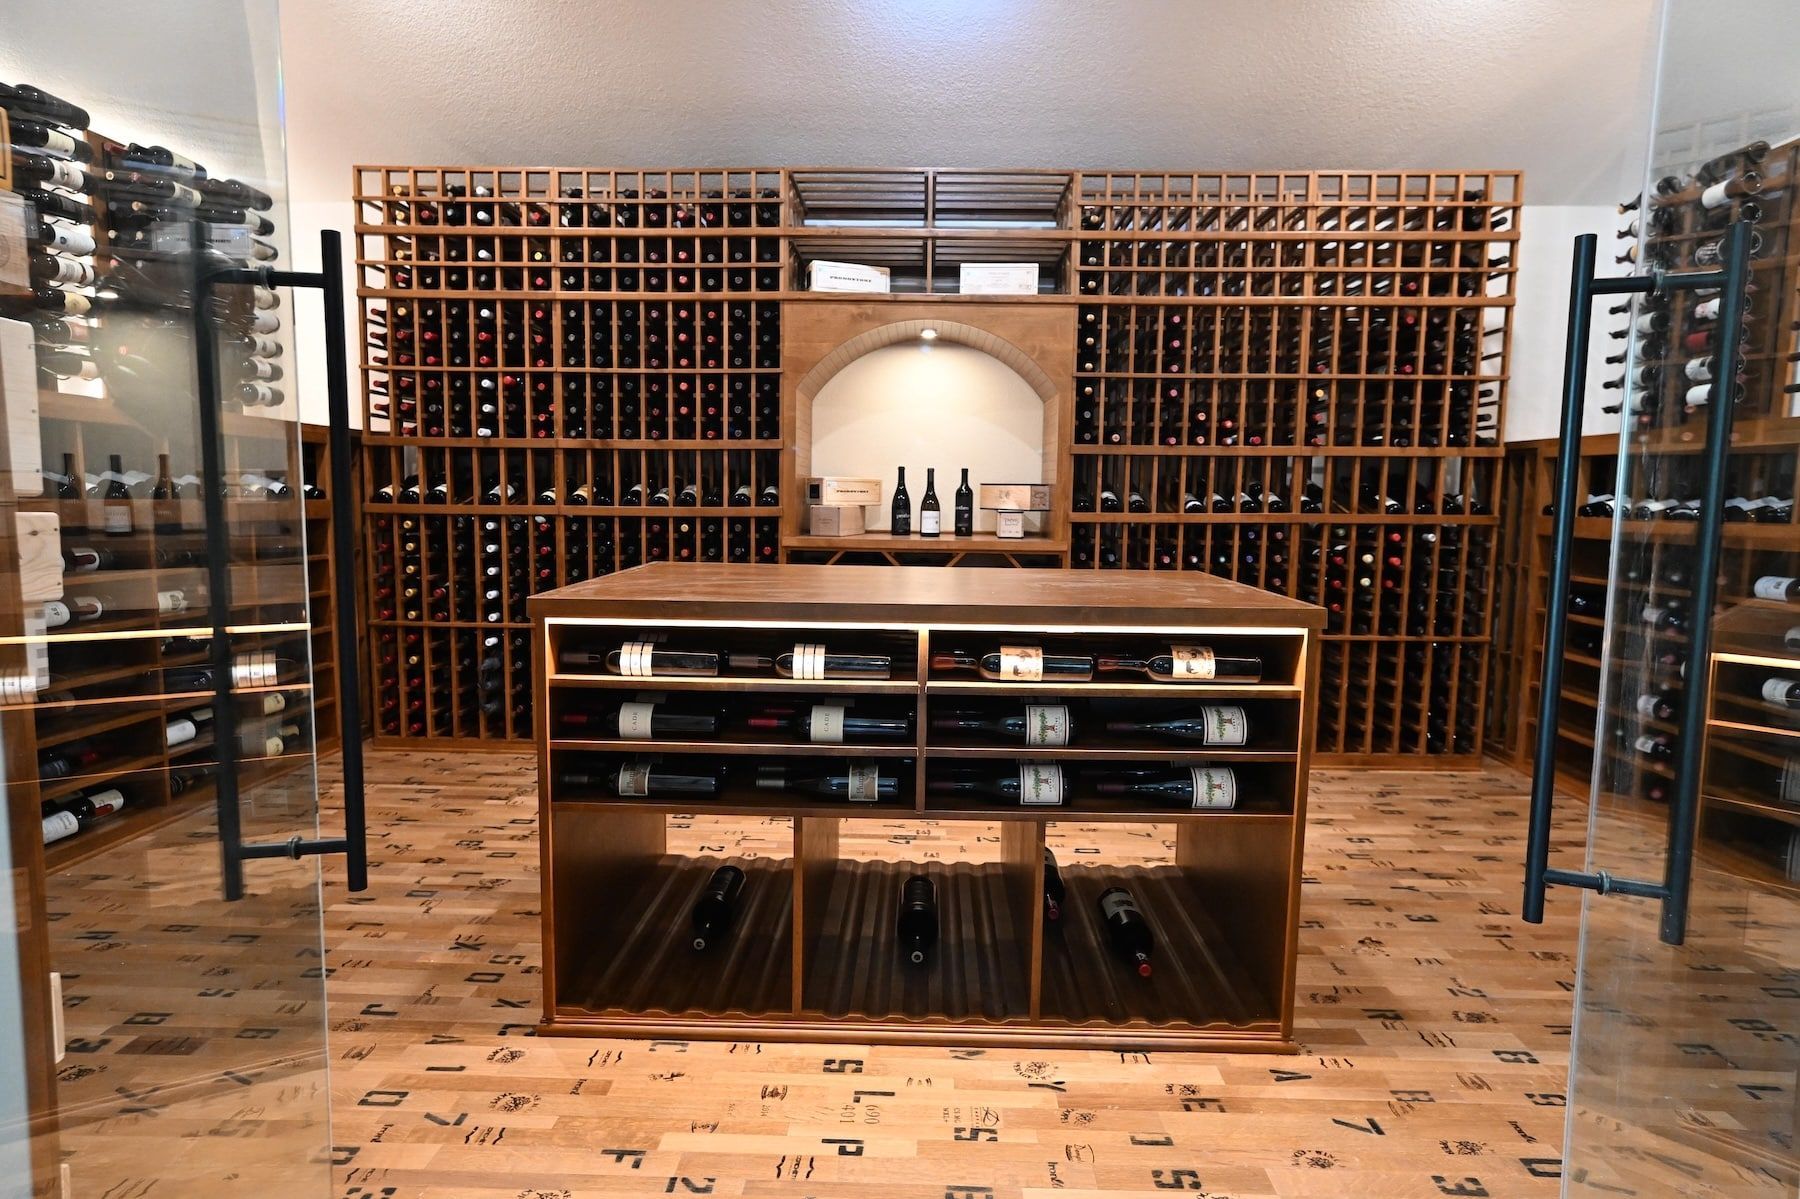
Identify Your Potential Space - Start by identifying your space — a basement room, an under-stairs closet, a dedicated ground-floor space, an upper-floor room, or a garage conversion. Document the location carefully, as different spaces carry different HVAC, insulation, and construction requirements.
Step 2
Measure Precisely - Measure room length, width, and height — including ceiling height and any angled ceilings. Note wall thickness and construction type (drywall, concrete, or brick), door location and swing direction, window locations (which complicate climate control), electrical outlet locations and circuit capacity, HVAC duct locations and return air paths, and any obstacles such as plumbing, structural columns, or wiring.
Step 3
Assess Your Current HVAC System - Determine whether you have central air conditioning and whether your system can handle additional ducting or will require a dedicated cellar cooling unit. Also consider your climate — hot climates like Phoenix and Las Vegas have significantly different cooling requirements than moderate coastal California climates.
Step 4
Determine Available Electrical - Locate your electrical panels and determine whether you have available circuits or will need an electrician to add them. Know your home's service amperage — critical for larger projects — and identify where cooling equipment will be located to determine electrical run requirements.
Step 5
Evaluate Humidity Challenges - Assess whether your space is a basement — typically humid — or whether you're in a humid climate like Miami or the Gulf Coast. Determine if you'll need active dehumidification or whether your cooling system can manage it, and establish your current humidity baseline with a basic humidity meter.
Step 6
Assess Construction Feasibility - Consider whether the space is accessible from a main living area, whether there are structural limitations such as floor load or ceiling height, and whether construction will significantly disrupt your home. Also, determine whether you have existing permits or will need to navigate building codes before work begins.
Phase 2
Collection & Capacity Planning
Step 7
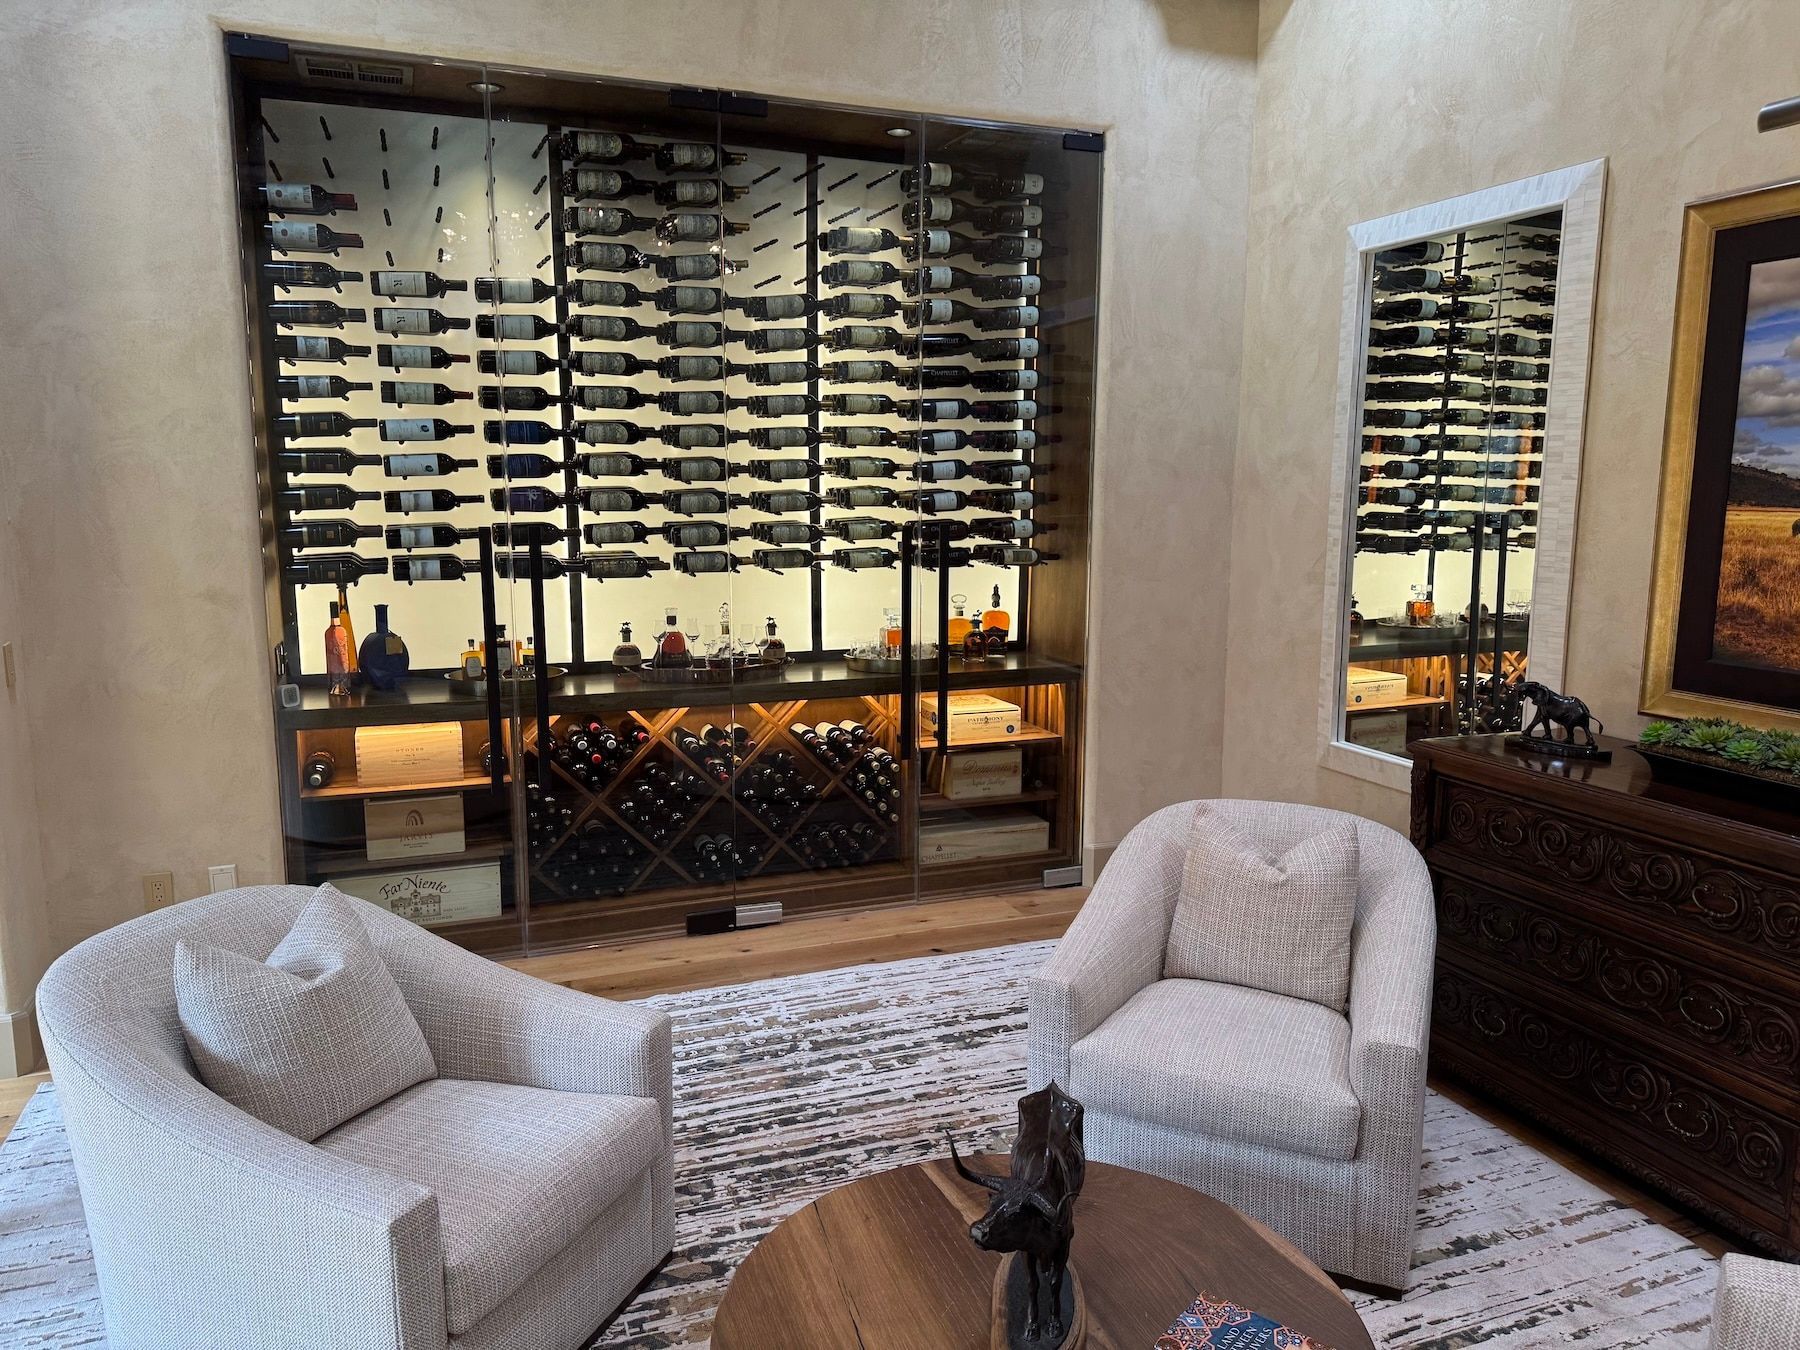
Count Your Current Collection - Start with a specific count of how many bottles you own today — not an estimate. This number directly determines your initial racking requirements.
Step 8
Project Your Growth - Consider how much your collection will grow over the next five years. Small collectors might add 50 bottles per year; serious collectors may add 200 or more. Whatever your pace, build 20–30% growth capacity into your cellar design. You'll use it.
Step 9
Consider Collection Composition - Think through your collection's makeup — everyday drinking wine versus collectibles, regional focus (Bordeaux, Burgundy, California Cabs, or diverse), and bottle mix by type (red, white, sparkling). If you store spirits or cigars, racking requirements change accordingly, as our Dana Point project's integrated cigar humidor illustrates. Composition shapes how you organize racking and display areas throughout the cellar.
Step 10
Determine Your Bottle Capacity Target - Add your current bottles, projected growth, and a buffer to arrive at your target. For example: 200 current bottles + 100 projected growth + 50 buffer = a 350-bottle target. That number drives racking selection and ultimately determines cellar size.
Phase 3
Climate & Cooling Planning
In dry climates, discuss humidification needs with your designer — they'll help you right-size the approach.
Step 11
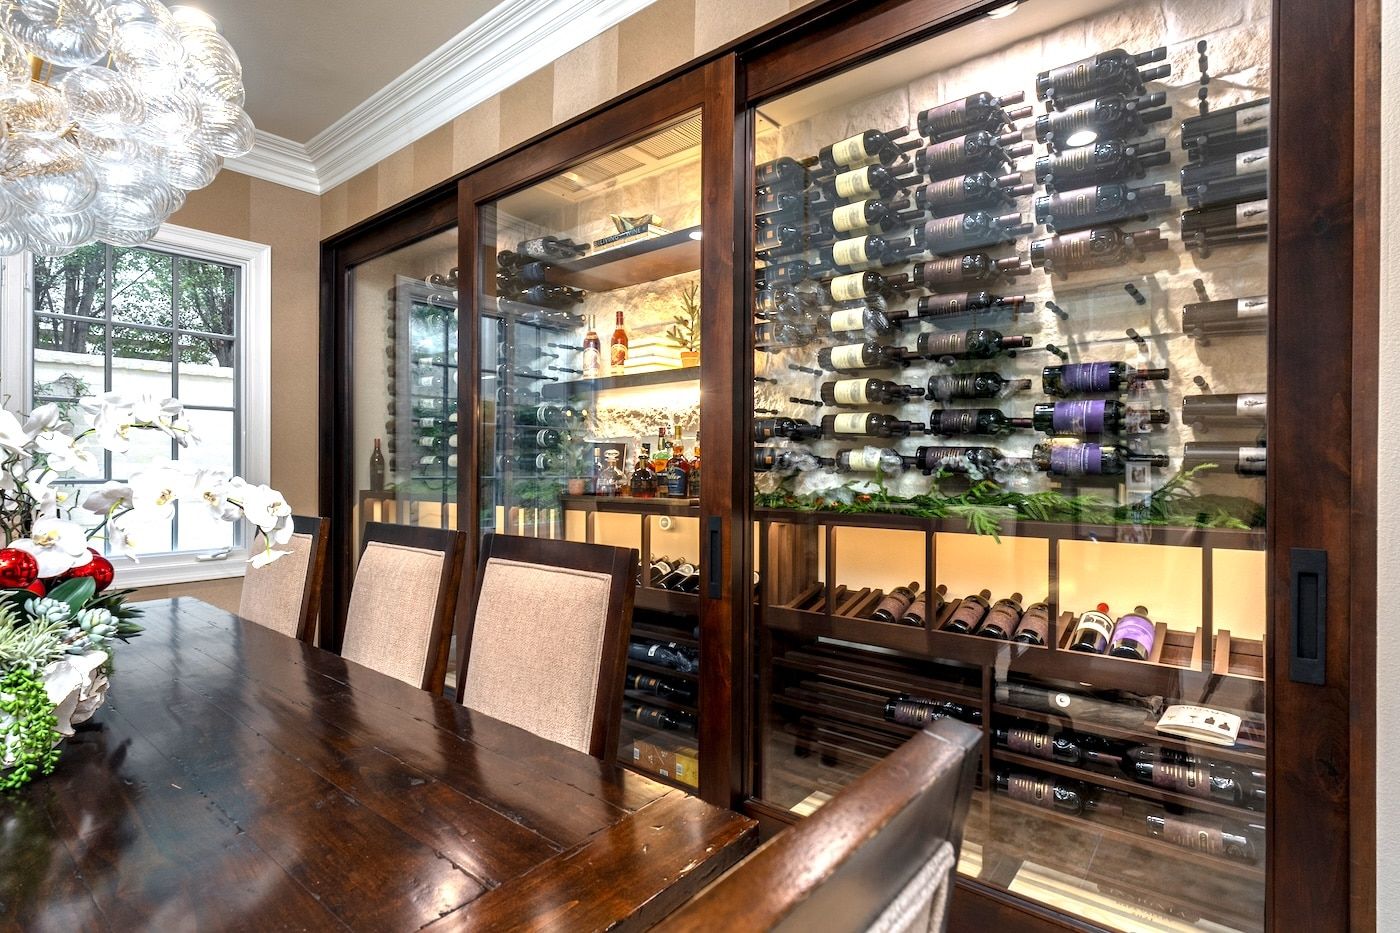
Set Your Target Climate Parameters - Define your temperature and humidity goals upfront. The standard for long-term wine storage is 55°F and 60–70% relative humidity, though collectors storing primarily for short-term drinking may have more flexibility. Knowing your targets precisely drives every other cooling decision that follows.
Step 12
Choose Your Cooling System Type - The main options are through-wall self-contained units (simplest, requires an exterior wall), split systems (quieter inside, with the compressor located elsewhere), and fully ducted systems (invisible but highest cost). Each involves trade-offs in noise, cost, installation complexity, and aesthetics. Your space constraints from Phase 1 will naturally narrow the choices.
Step 13
Size Your Cooling Unit (BTU Calculation) - Unit sizing depends on room volume, insulation R-values, ambient temperature outside the cellar, heat generated by lighting, and daily bottle insertions. Undersized units run constantly and fail early; oversized units short-cycle and struggle to control humidity. A designer or HVAC specialist should always validate this calculation.
Step 14
Plan for Humidity Control - Cooling systems naturally dehumidify, which can be a problem in dry climates. In humid climates — basements, coastal areas — supplemental dehumidification may be necessary. Determine whether your chosen cooling unit handles humidity passively or whether a dedicated humidifier or dehumidifier needs to be integrated into the system.
Step 15
Location for Cooling Unit - Through-wall units must be placed on an exterior wall. Ducted units can be located in an attic, garage, or closet. Identify where the condenser or compressor will go, if applicable, as this directly affects construction planning.
Phase 4
Design & Aesthetics
Step 16
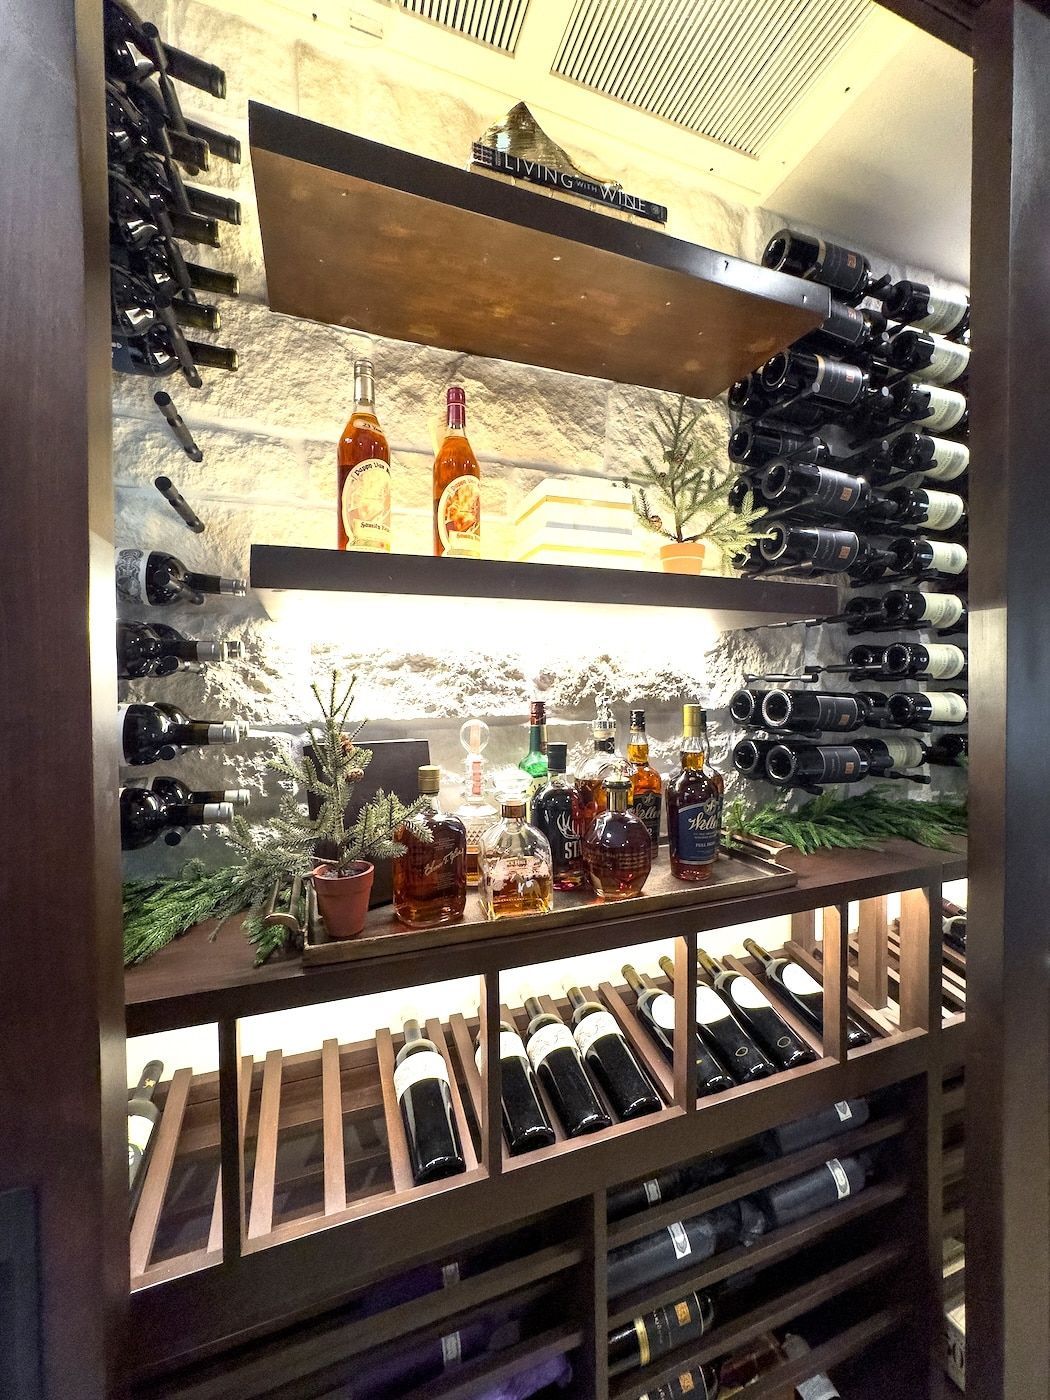
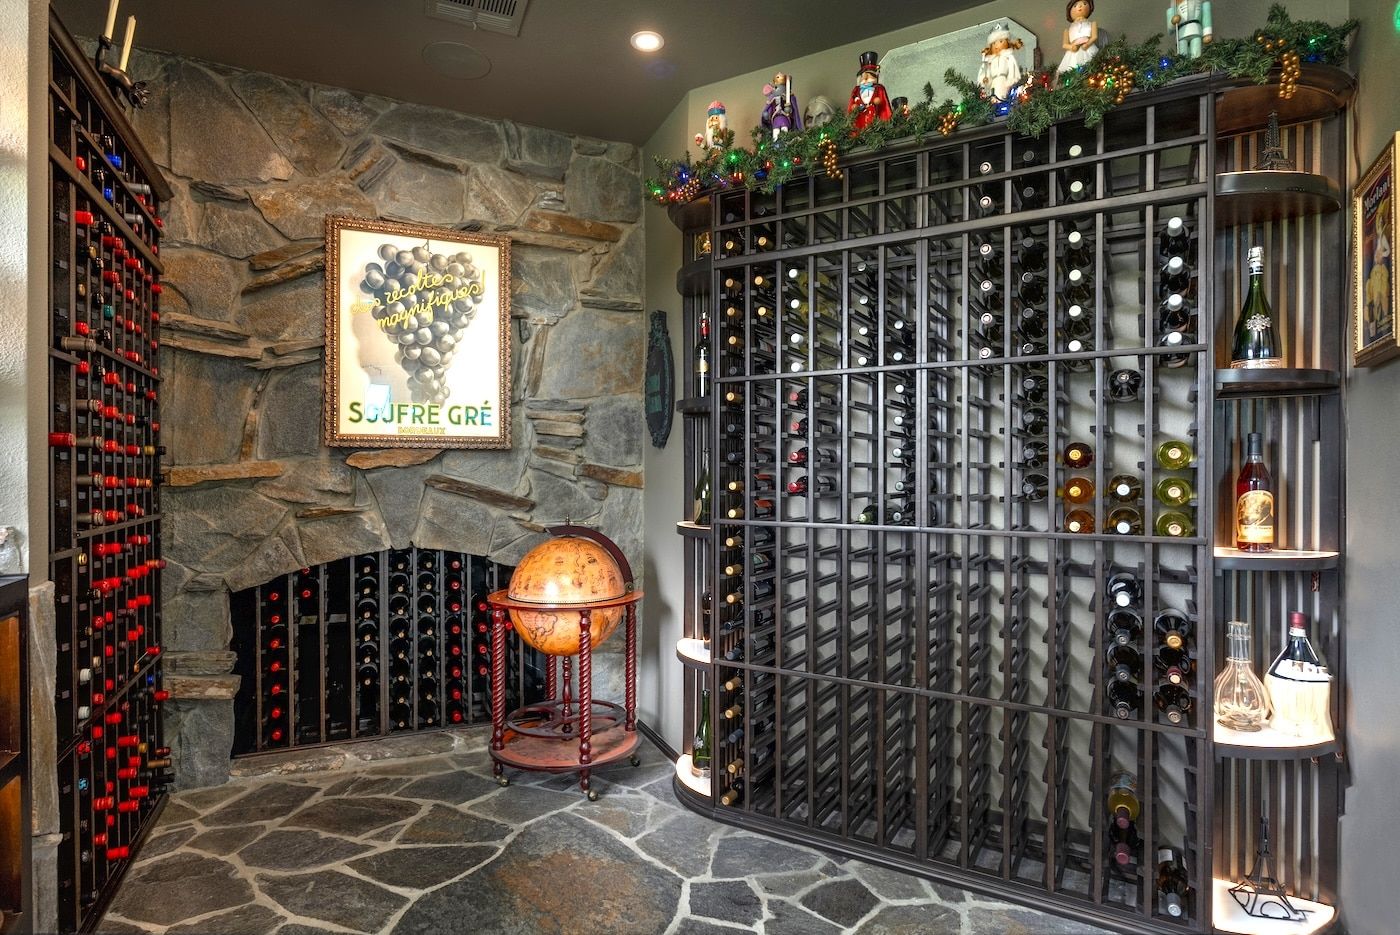
Define Your Style Preference - Identify your style direction: contemporary (clean lines, metal, glass, minimal ornamentation), traditional (wood-forward, classic proportions, decorative elements), transitional (a blend of both), or rustic (reclaimed materials, natural finishes, warm aesthetic). Reference images help significantly; save 5–10 examples of cellars you love before your first design conversation.
Step 17
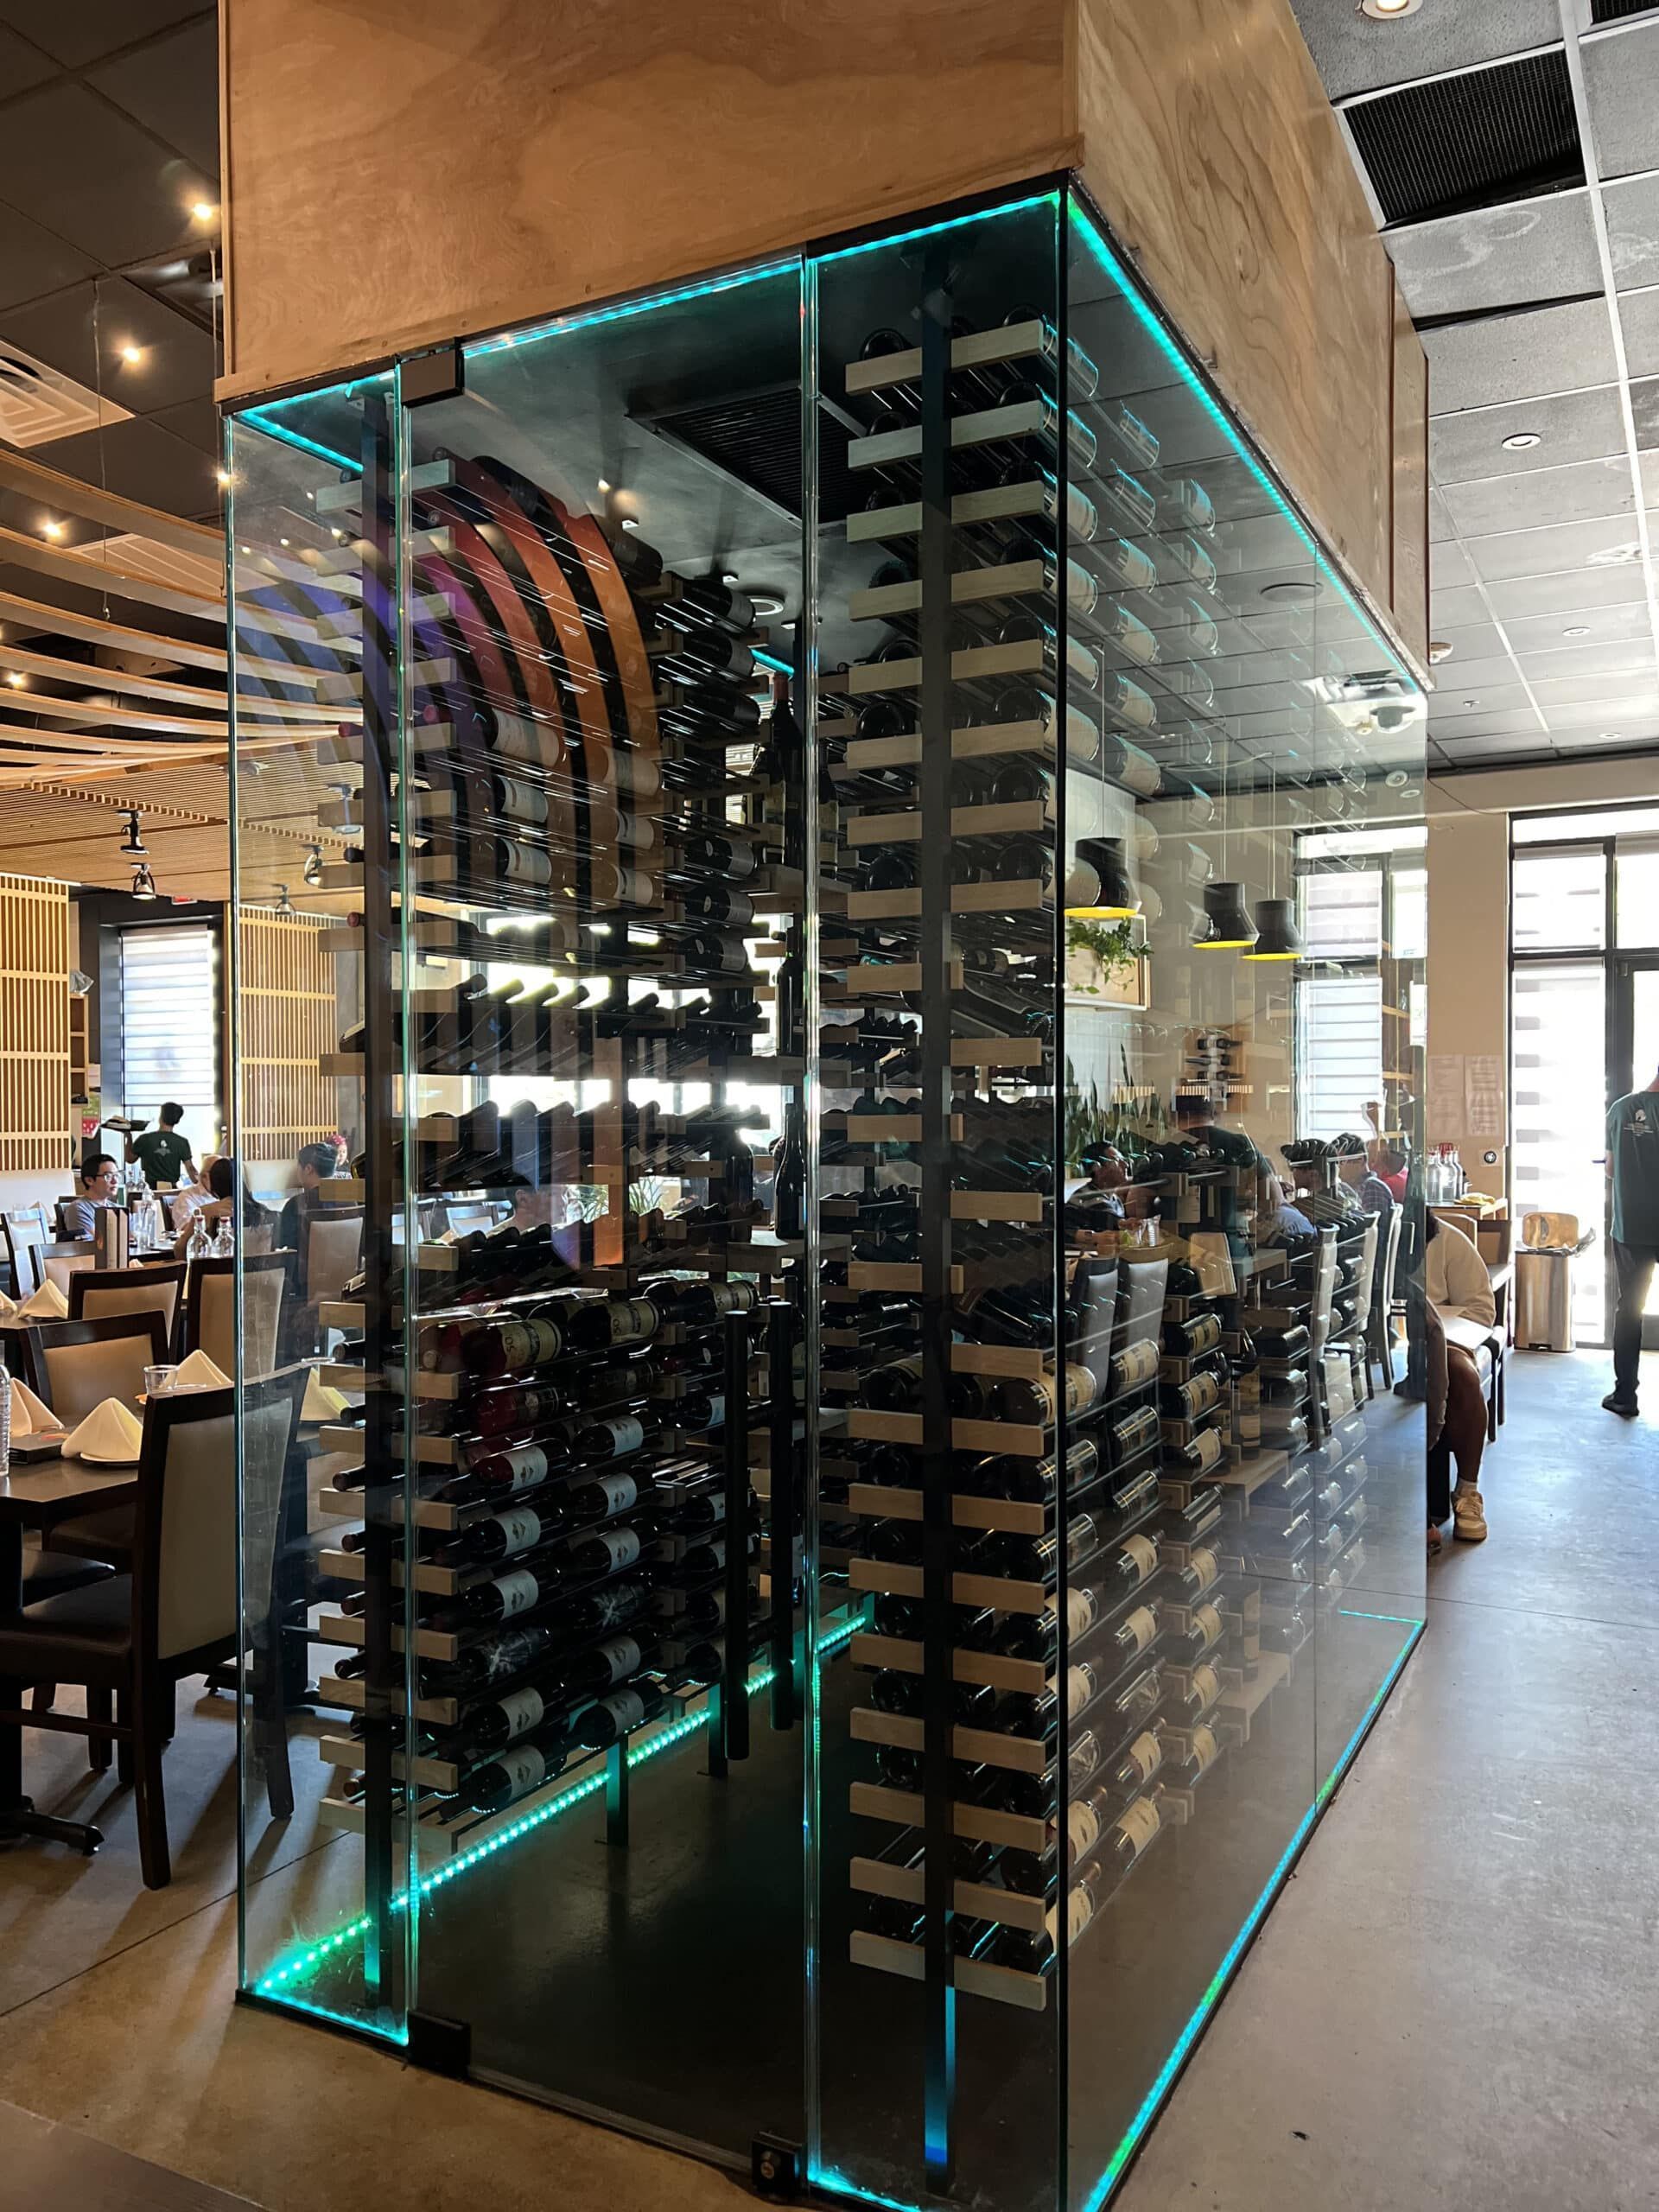
Choose Your Primary Materials - Consider racking material first — wood species like Redwood, Mahogany, Alder, or Pine versus metal options like stainless steel or chrome, or acrylic. Then work through enclosure type (glass, drywall, or metal framing), door style (standard versus glass-insert Barolo style), and flooring (tile, stone, wood, or sealed concrete). These choices drive both aesthetics and project cost.
Step 18
Plan Your Racking Configuration - Determine how much space will be dedicated to bottle storage, display versus workspace. Consider whether you want a tasting table, diamond bins for horizontal storage, individual racks for vertical bottles, or a mixed configuration. Also, decide between higher-density double or triple-deep racking versus simpler single-deep layouts. Our Mission Viejo project's arch with display shelf shows how functional areas can also serve as architectural features.
Step 19
Lighting Plan - Decide between basic recessed lighting, LED panels highlighting racking, or RGB controllable lighting with smart home compatibility. Plan accent lighting for display areas as well. Keep in mind that wine is sensitive to UV light — soft, warm lighting protects your collection while creating the right atmosphere.
Phase 5
Technical Details
Step 20
Insulation & Vapor Barrier Planning - Determine whether existing walls can be insulated or whether new walls need to be built. Vapor barrier placement on the warm side of insulation is critical — this is where most installations go wrong. Target R-11 minimum for walls and R-19 for ceilings. Concrete basement walls require special vapor barrier considerations that differ from standard framed construction. Plan this step carefully before any construction begins.
Step 21
Electrical Planning - Account for cooling system power requirements, which vary by unit size, as well as lighting power needs. Decide upfront whether you want smart home integration with Crestron, Nest, or Honeywell, and determine where the thermostat and control panel will be located. Larger cooling units may require 240V service. Coordinate all of this with your electrician early in the process.
Step 22
Ventilation & Air Circulation - Cooling systems require clear return air paths — cold air flows out from the supply and returns through dedicated return grilles. Confirm there is adequate room for return air ducts and determine whether the cellar can draw intake air from your home or needs a separate source. Poor air circulation leads to hot and cold spots and temperature stratification that compromises wine storage conditions.
Step 23
Drainage Considerations - For basement installations, develop a drainage plan that accounts for condensation from cooling equipment and any risk of standing water. Some basement conversions require sump pump coordination to manage moisture effectively and protect both the cellar and the collection long-term.
Phase 6: Questions for Your Designer
Before design work begins, you should ask
Based on this space and my collection size, what cooling system do you recommend and why?
What's your vapor barrier approach for my specific walls/situation?
Can you show me 3D renderings before construction starts?
What's your timeline estimate for design and construction?
Do you recommend professional installation, or is DIY feasible for some components?
What maintenance schedule do you recommend post-installation?
What's your warranty coverage? What's included vs. what's not?
Do you have references from similar projects I can call?
What's the most common mistake you see in cellars like mine?
If I want to expand or modify later, how easy is that with your design? These questions help you understand your designer's approach and catch potential issues early.
Common Planning Mistakes to Avoid
Based on 20 years of building cellars, these planning mistakes cost the most:
Mistake 01
Underestimating Collection Growth "I'll never fill a 500-bottle cellar." Six years later, the cellar is full, and they want to expand. Build 20–30% extra capacity into your initial design — you'll use it sooner than you think.
Mistake 02
Skipping or Misinstalling the Vapor Barrier - Placing the vapor barrier on the cold side of insulation instead of the warm side results in condensation inside walls, mold, and structural damage. This is the most commonly botched installation detail in cellar construction. Get it right during the build, not after.
Mistake 03
Choosing a Cooling System Based on Price Rather Than Fit - Undersizing cooling for your climate — Phoenix demands a very different capacity than San Diego — leads to year-round performance failures. Choosing a system with the wrong noise profile or one that can't integrate with your smart home creates problems that are costly to fix after installation.
Mistake 04
Not Planning for Humidity Management - Basements and humid climates require active dehumidification planning. Assuming the cooling system alone will manage humidity usually leads to moisture creeping up, mold appearing, and bottles getting damaged.
Mistake 05
Poor Door Sealing - Door gaps allow hot and cold air infiltration that undermines your cooling system's efficiency. Automatic door bottoms — as used in our Mission Viejo Barolo door installation — are a simple and effective solution that too many builders overlook.
Mistake 06
Not Planning Return Air Paths - Cooling systems need air to circulate freely in and out. Blocking return air paths causes hot spots and eventual cooling failure. Design this into your layout before construction begins, not after.
Mistake 07
Assuming You Don't Need Ongoing Maintenance - New cellars require a 40-day check to verify everything is working correctly. Cooling filters need periodic cleaning, and ongoing temperature and humidity monitoring prevents small issues from becoming costly ones. Budget for maintenance from day one.
Mistake 08
Choosing Materials Based Only on Price - The cheapest wood species may not hold up in your climate. The cheapest door may not seal properly. The cheapest lighting may emit heat that affects cooling performance. Think total cost of ownership, not just initial purchase price.
