Wine Cellar Door Handover Inspection: What Gets Checked
Choosing Between Them for a Specific Run
Once a schedule has been issued to anyone, changing a value quietly is worse than not changing it. A revised schedule carries a new revision number, a new date, and a marker against every row that moved, so a reader holding both versions can tell in seconds which lines are different. Reissuing a corrected sheet with no revision marker leaves two documents in circulation that look interchangeable and are not.
The reissue also has to reach the people working from the old one. A cellar's fixture order, the racking shop drawings, and the electrical rough-in can all be running from the same schedule at the same time, and a Kelvin value corrected on the designer's copy changes nothing until the version carrying that correction lands with whoever placed the order.
Fixture substitutions happen at bid, at order, and occasionally after delivery, and a fully populated schedule is what sets the terms of one in advance. A substitution proposed against a complete row has to hold every value on that row, including the ones a supplier would find inconvenient to match. A fixture matching wattage, beam angle, and trim size while dropping below a stated CRI floor is a different specification, and a populated row makes that visible without an argument about intent.
The burden of showing it sits with whoever proposes the swap. A substitution request arriving as a catalog number and a price, with no line-by-line comparison against the scheduled values, has not been made yet; it has been asked about. Requiring that comparison in writing is what keeps the substitution a decision the specifying professional is still making.
The Sheet Has to Say What It Is
TIP: A schedule reissued after fixtures are ordered should say so on the sheet. A revision that arrives post-order is a change order in practice, and marking it as one keeps the cost conversation attached to the line that caused it.
| What you observe | Points to |
|---|---|
| Present since installation, color consistent, dim points evenly spaced | Spacing and mounting height |
| Boundary lines up with a material seam in the racking, present from day one | Rack depth or finish change |
| Color shifts across a boundary, not just brightness | Mixed LED bins from a partial replacement |
| Whole run dims, flickers, or fades together; appeared after a period of looking fine | Driver channel losing output |
The handover walkthrough is a deadline, not a formality. It marks the last point in the build where a flaw in the door is still a build item — corrected while the crew is on site, with no need to establish later whether it came from the installation or from use. Once the racking goes in and furniture crowds the room, testing a seal or a hinge gets harder. What gets checked at that walkthrough, and how carefully, decides which side of that line a problem falls on.
The Seal Line Around the Full Perimeter
A cellar door seals against the jamb, the head, and the sill in one continuous run, and a look that only sweeps the two long sides misses where a seal most often gives first: the corners, where two runs meet. What gets checked isn't whether the gasket looks even from a step back. It's whether it compresses when the door closes, verified by feel and resistance at several points around the frame rather than assumed from how the material sits at rest.
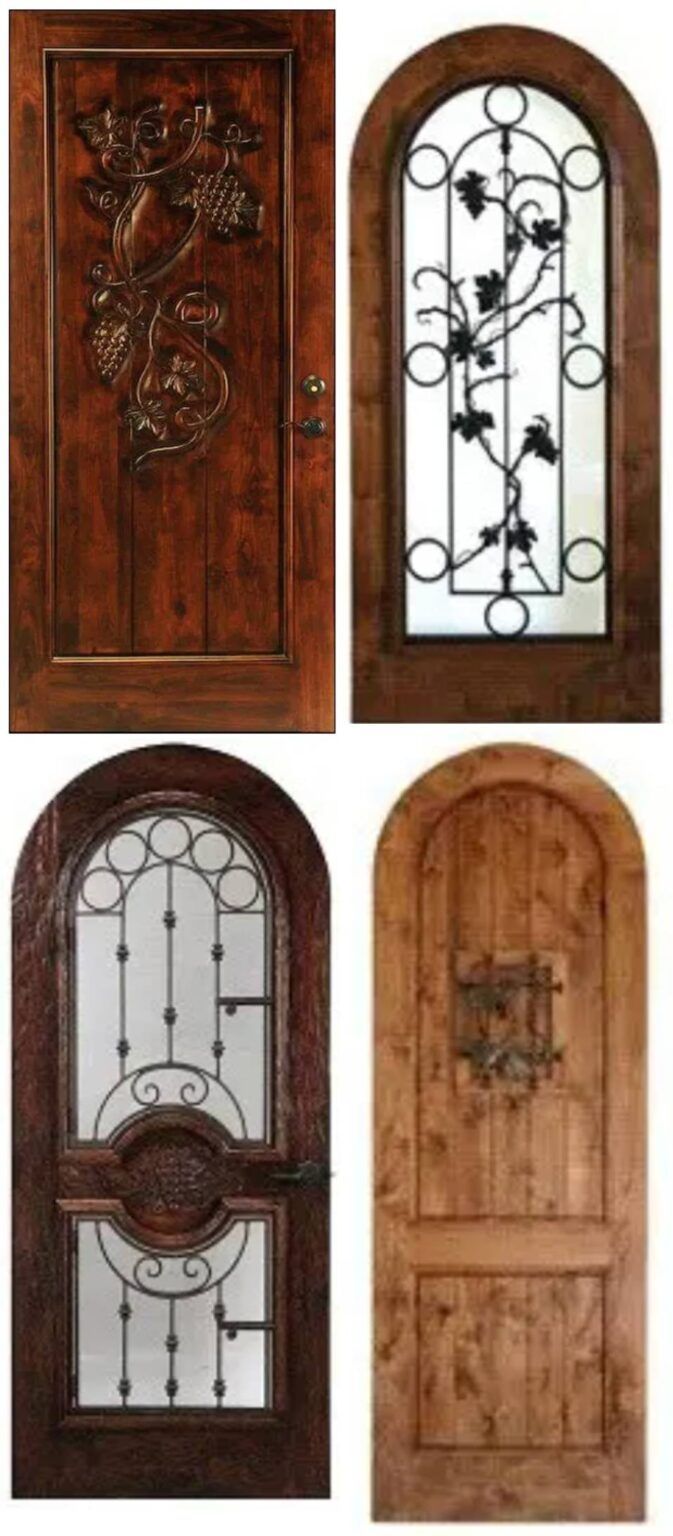
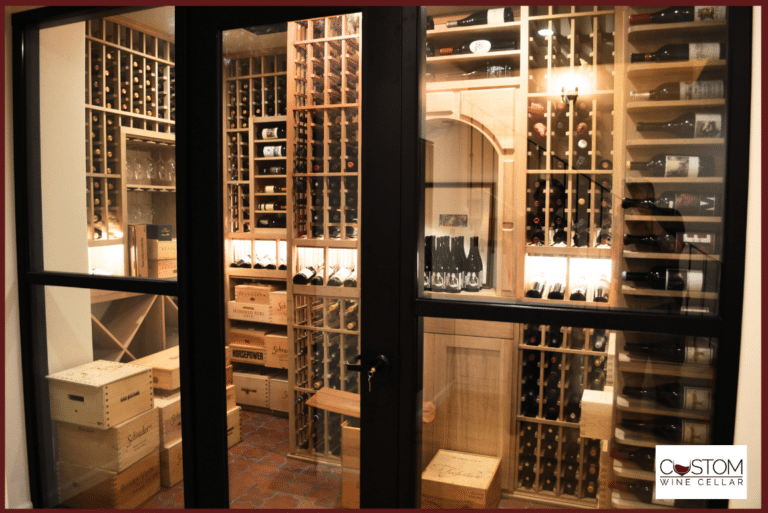
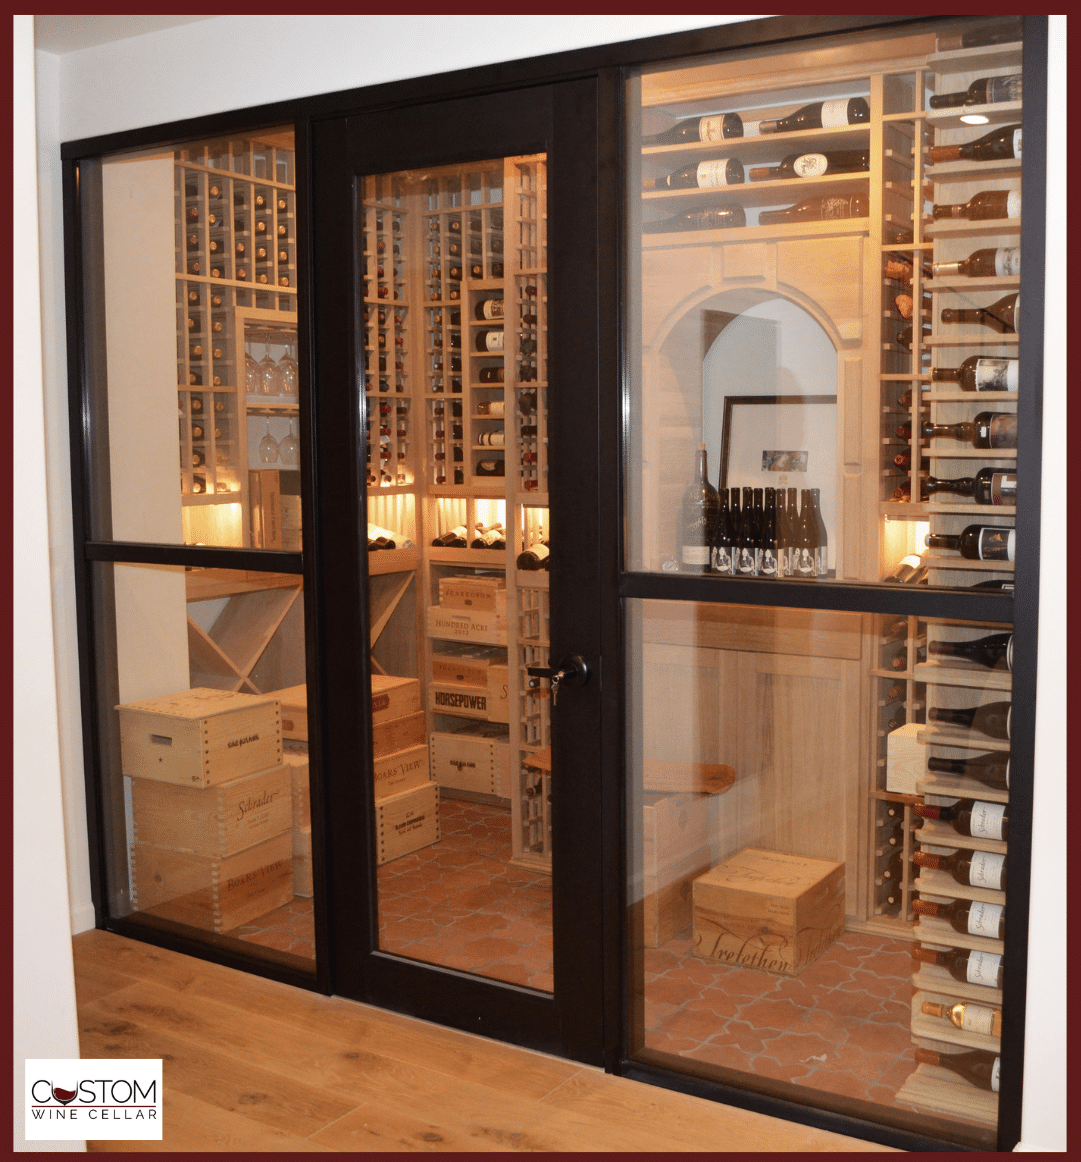
The mechanism differs by door type. Cachet installs wooden, metal-with-thermal-break, framed glass, and frameless glass doors, and each seals differently. A wooden or metal door typically carries a perimeter gasket plus an automatic door bottom that drops a compressing gasket as the door swings shut, while a frameless door has no frame to gasket against and closes directly onto magnetic gaskets set into the jambs and head.
WARNING: A frameless door can sit flush at rest and still show daylight along one jamb once it swings under its weight. The magnetic gaskets need checking with the door in motion, not only parked shut, since a static look can be misleading.
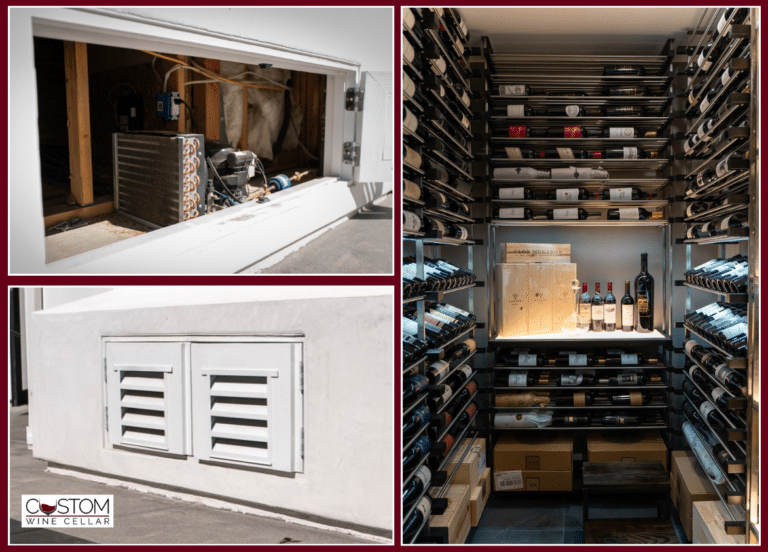
Confirming which system is installed, and that it is doing what it should, belongs at the walkthrough rather than a spec sheet read afterward. The same pass is where to check that the cooling system's return grille is not sitting right at the door opening, with anything that looks wrong handed to the builder rather than held for a separate mechanical review.
The Threshold Signed Off Without Testing
The bottom edge of a door is the one part of the seal line most walkthroughs treat as done without a direct test. It's low, it's awkward to reach without crouching, and once flooring and threshold trim are in place it looks finished, which is exactly why it gets signed off on sight more often than any other section of the seal. Checking it properly means running a hand or a strip of paper along the full width of the threshold with the door closed, not just at the center where clearance is usually best.
Threshold seals are also where amateur installations tend to fail first, which is part of why Cachet treats this edge as its own line item on the walkthrough rather than folding it into the general perimeter check. A door that seals well on three sides and poorly on the fourth still lets conditioned air out, just from lower down, where it's less obvious to a quick look.
What makes the threshold check useful is recording it as a comparison rather than a verdict. A bottom edge that reads tight at the center and loose at one end is a different finding from one that reads loose across the full width, and the two get handed to the builder as different problems. Which end is loose, and whether the reading changes when the door is pushed firmly shut instead of allowed to close under its own weight, is the part worth writing down while the door is in front of you.

Swing and Latching, Tested Cold and After a Run
A door swings and latches one way when the cellar has been closed up and idle, and it can behave differently once the cooling system has been running and the space inside has settled at temperature. The walkthrough covers both conditions: the door is opened and closed cold, before the system has had much runtime, and again later in the same visit after it has cycled for a while.
What's being watched is whether the door swings through its full arc without catching, closes fully under its own weight or a light push depending on the hardware, and latches cleanly. Hinge and latch action get the same attention as the seal, since a door that seals perfectly but does not latch does not stay sealed for long. Any hesitation, drag, or a latch that needs a second push gets noted for the builder rather than adjusted on the spot.
Glass and Hardware Finish Before the Room Fills In
Hardware and glass are easiest to inspect before racking, bottles, or furniture make it awkward to get a clear line of sight on hinges, handles, and the glass surface itself. Once racking and bottles go in, that access is gone. A scratch on a hinge plate or a smear left inside a glass panel is far easier to flag while the room is still empty than after it's stocked.
Coastal salt air is hard on hardware finishes, which matters for any project sited near the coast — Newport Beach, Dana Point, and the rest of the Orange County shoreline. Brushed stainless and powder-coated hardware hold up better against it than plain plated finishes. Checking the finish at handover means confirming what's installed matches what was specified, not just that it looks clean on day one.
TIP: Glass gets checked for the same clarity from both sides, not just from inside the cellar looking out. A haze or film that's invisible from one angle can be obvious from the other, especially under the room's own lighting.
The hardware check also covers the strike plate and any visible fasteners, while they're still simple to reach.
The Paper Trail Handed Over with the Door
A completed door is only half of what handover should include. The other half is a short record of what was installed: the door type, the finish scope it was built to, and the specific hardware, including hinges, handles, and gasket type, that went into it. Without that record, a hinge or a gasket that needs matching later has to be identified by eye rather than by spec.
The seal system belongs in that note by name. A perimeter gasket paired with an automatic door bottom and a set of magnetic gaskets seated in the jambs and head are different parts from different sources, and the record is what tells someone years on which one is in the opening. The finish scope is worth writing the way it was specified rather than the way it reads on handover day, since a finish is easiest to describe accurately while the specification it was built to is still at hand.
That record also matters because of what backs it. Cachet's lifetime warranty covers materials and craftsmanship: if anything fails in the structure, the racking, or the installation, Cachet repairs or replaces it. A warranty claim is easier to process against a door with a clear paper trail than one that has to be reconstructed from photos and memory. Handover is the point where that trail either gets created or doesn't.

The Walkthrough as the Last Build-Item Moment
Everything covered so far, seal, threshold, swing, latch, finish, return position, documentation, gets checked while the crew that installed the door is still on site and while any issue found is still, by definition, a build item. Once the walkthrough closes and the crew leaves, the same problem becomes something else: a call placed later, a visit scheduled around someone else's calendar, a repair rather than a correction folded into the original work.
That's the practical reason the walkthrough functions as a deadline rather than a formality. It isn't that problems can't be resolved later; the warranty exists because some things surface after the fact. It's that raising something during the walkthrough settles the question on the spot, with the door, the crew, and the original work all still in the room together. Raising the same thing three months in means waiting on a scheduled visit to confirm what could have been confirmed while everyone was already standing there.
WARNING: Anything flagged at the walkthrough gets routed to the builder rather than handled in the moment. Noting it is the owner's role; correcting it stays Cachet's, whether that means a hinge, a hardware finish, or a seal that didn't compress evenly.
The Aftercare Schedule That Follows the Walkthrough
The relationship doesn't end at the walkthrough. What follows it is a fixed schedule of return visits. The first scheduled visit comes 40 days after installation, built around confirming that conditions hold under normal use rather than the numbers logged during commissioning: temperature and humidity stability, cooling system performance, and a chance to answer whatever operating questions have come up in the first weeks of owning the room. Minor adjustments, thermostat fine-tuning among them, often happen at this visit, since those are the settings most likely to need attention once someone starts using the space day to day.
The 6-month interim service goes further: every component gets tested, not just the ones tied to temperature and humidity, and the visit includes a check for moisture or structural issues that wouldn't show up in a quick read of the thermostat. A full service at 12 months covers complete system maintenance, a professional cleaning, complete testing, and a look ahead at long-term care.
A door item raised at the 40-day or 6-month visit sits under the lifetime warranty on materials and craftsmanship, which is what stands behind the installation once the build closes out. The handover walkthrough is still the cleanest place to raise anything about the door, because the work and the people who did it are both in the room at the same time.
Frequently Asked Questions About the Wine Cellar Door Handover Inspection
What does the walkthrough cover beyond the door itself?
Stage eleven of the build is the quality inspection, walkthrough, and photography stage. Temperature and humidity stability get verified, all systems get tested, and every component gets checked for finish and durability, with the owner walking the finished room as part of that same stage.
When is the cooling system tested relative to the door going in?
Cooling is installed and commissioned in stage nine of the build, tested under load to confirm it holds the target range, and the door isn't installed until stage ten, along with lighting, flooring, and finishing. The mechanical system is proven functional before it ever has to hold against a sealed door.
Does anything happen after the walkthrough itself?
Yes. A professional photographer documents the finished cellar, after the walkthrough closes out any final items. Photography sits at the tail of the same stage as the quality inspection and walkthrough, which is why an unresolved item on the door holds up more than the door.
What if a question comes up between the scheduled visits?
Cachet offers emergency response outside the 40-day, 6-month, and 12-month visits, and optional maintenance plans are available for owners who want coverage structured beyond those three scheduled checks.
Who attends the walkthrough, and what should the owner have in hand?
The owner and the crew that built and installed the door both need to be present, since every finding goes to the people who did the work. Having the approved design and the material selections agreed at that stage in hand turns the finish and hardware check into a comparison against a written specification rather than a judgment made from memory.
What temperature and humidity range does the walkthrough confirm is holding?
The target is 55°F plus or minus two degrees, with relative humidity between 60 and 70 percent, confirmed as stable rather than just correct at the moment of the walkthrough.
Ask about the walkthrough when you book your build — it's included with every installation and covers the door along with the rest of the room. Cachet Wine Cellars designs and builds custom wine cellars from Irvine, California, with a lifetime warranty on every installation. Call (949) 569 7857.